

Making Of
The Making of Tea Houses
The Making of Tea Houses by Lighthouse 3d from Cordoba, Argentina.
Hi everyone! Before we begin, we would like to thank our friends of CGarchitect for allow for the opportunity to show our work to the community. Thanks Jeff Mottle!
The software used for this image was 3ds Max 2011, V-Ray and Photoshop CS5.
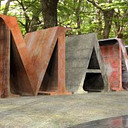
The project belongs to the architectural studio Swatt and Miers, called "Tea Houses”. Below you will find the images that inspired the composition of this scene.


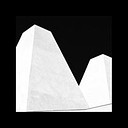
MODELING
The modeling of this house is quite simple. We've shown the model to understand the parts that make it up.


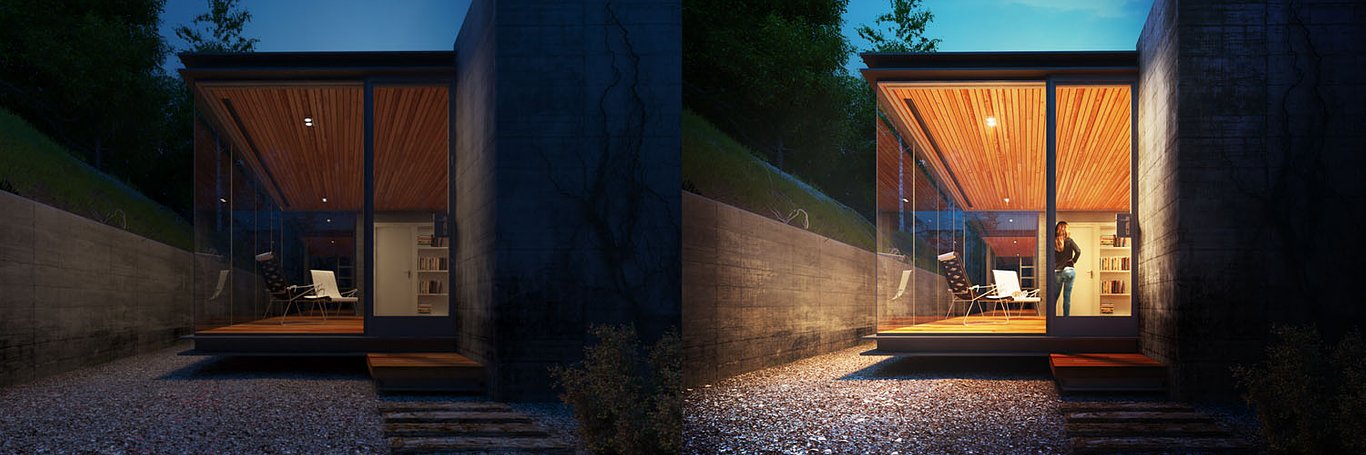
FOCUS AND COMPOSITION
The composition and focus were the result of a search through major legislation such as the middle third and vanishing point.

LIGHTING SETUP
Three main lights, a global illumination dome, a fill plane and small planes for the interior light.


MATERIALS
In this section we highlight the most interesting materials in the scene.


RENDERING SETUP
For V-Ray parameters are standard values without any secrets or tricks. The gamma is set to 2.2.


POST PRODUCTION
The post production of this image was made with the use of layers and masks to prevent loss of quality and able to resume any instance editing. For editing were used V-Ray passes as VRay Refraction, VRay Reflection, VRay Global Ilumination and VRay WireColor.
The sky was inserted in post-production (levels and saturation settings).

V-Ray Global Illumination with the layer mode to Screen at 35% opacity, VRay Reflection with the layer mode set to Overlay with an opacity of 45% to highlight indoor lighting & VRay Refraction pass with 20% opacity.

In the steps that follow the person was placed and worked with lighting and fog effects to add depth to the focusing.

Finally we balanced tone, saturation, curves, vignettes and masks to contrast the image and give prominence to the scene.


You must be logged in to post a comment. Login here.

Hugo Velazquez
Report Abuse
So fucking awesome! thank you very much for this making of! :D
a
abid ali
Report Abuse
thanks ,,, nice tutorial

Xzent DS
Report Abuse
Nicely Done! Congrats!!

Vasil
Report Abuse
thanks,nice tutorial

Light House
Report Abuse
Thanks you all for your comments!. The opinion of our colleagues is very important to us. Flavio We will consider your review for upcoming projects, thanks for your honesty.
Best Regards!
F
Flavio Siebeneichler
Report Abuse
I found the image without post more balanced than the image with post.
Y
Yury Sankman
Report Abuse
Very great job done!
And useful too!
J.

Lyle Mills
Report Abuse
Nice!
N
Nathan Harry
Report Abuse
clever composition and post-work really bring the scene to life. love your boathouse scene as well.
Light House
Report Abuse
Hello.
In this case we do not use the frame buffer. Therefore srgb button is off.
Best regards.

Sachin Mahajan
Report Abuse
Thank you :)
J
J-F Giroux
Report Abuse
Hi,
very nice tutorial, thanks a lot. But i am also intrigued by the way you set your gamma as mentioned in the first comment.
very good result!
martin morales
Report Abuse
is amazing ... I love your work ....
excellent ..... Thanks for sharing the info!.
s.mu s.mu
Report Abuse
Hi jeff,
Thank you for this great making of. I have a question about your color mapping. You wrote that you are working on gamma 2.2 but your color mapping is exponential and gamma is 1.0. Is srgb button on your frame buffer on?.
Kind regards. Thanks again for making of.
sami.
About this article
The Making of Tea Houses by Lighthouse 3d from Cordoba, Argentina
visibility33.4 k
favorite_border28
mode_comment14


