

Making Of
The Making of Symbiotic Office
First of all I would like to say thank you to Jeff Mottle for arranging the CGarchitect Awards in which my video was awarded the best student film, and for inviting me to do this making of tutorial. This video was part of my final year Diploma in Architecture project at Oxford Brookes University; it was made to compliment my design proposals and allow the viewers a more personal experience of the architecture.
The project was entitled ‘The Symbiotic Office’; below is the film itself along with an explanation of the project.
 Film Composition Breakdown
“The project stems from research into London's office culture, in particular that of Canary Wharf. In the vastness of these office spaces the needs of the individual are largely overlooked and the repetitive, generic offices with their catalogue furniture offer little more than a place to work. The proposal is an attempt to open up these closed office cultures in which the basic needs of the individual have been forgotten. Floors are opened up and internal orchid gardens created.
The Symbiotic Office changes the way in which people use office spaces, creating internal relaxation zones where individuals can pause for thought, host meetings, eat their lunch or drink a cup of tea. In the digital age where the traditional place of work is a fluid concept, the project strives to highlight the importance of face-to-face interactions and to create an office space that not only boosts productivity, but one that the workers can enjoy.”
Prior to working on this project I had very little knowledge of any 3D software. Consequently the techniques used in the film were learnt and implemented over a period of eight months. A series of exploratory 3D images and films were undertaken over the first 4 months to develop the concept and the skills required; the final film was then produced over the following 4 months. Some stills from this exploratory stage can be seen below:
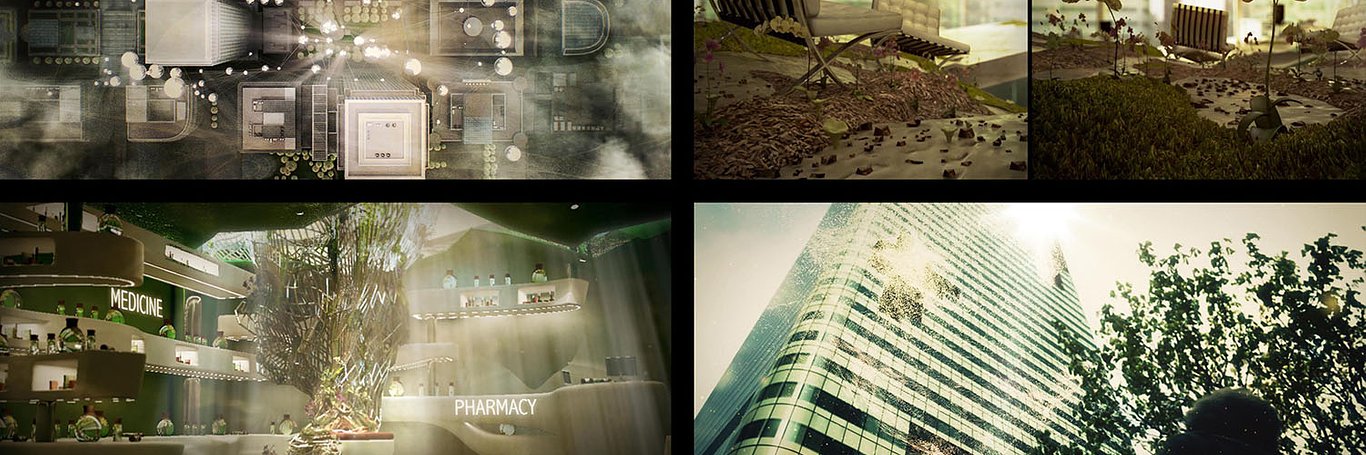
 Process Work
WORKFLOW & MODELLING
In setting up my scene I always use a Linear Workflow with gamma 2.2 as I find this easier to manage the hues and brightness of the scene.
The modeling was done entirely in 3ds Max with V-Ray as my primary render engine. Each scene was modeled separately and then composited together in After Effects and Premiere. As a lot of the design was developed inside of the 3D software, it was important to work in a non-destructive way. I did this by utilising modifier stacks where possible to edit geometry rather than committing change to the original so that I could recover previous iterations when required.

3D Model Overview – Office Interior

3D Model Overview – Pharmacy Interior

3D Model Overview – Suspended Ceiling Void

3D Model Overview – Office Interior


Non-Destructive Modelling
The majority of the furniture, foliage and objects in the scene were modeled from scratch although some were downloaded from turbosquid or manufacturer websites.
 Object Library
One of the more challenging components to model was the pollen clouds that blow through the scenes in the latter stages of the film. After experimenting with various 2.5D methods in After Effects to create particle effects I realised that I needed more control over the flow and so had to learn two very interesting plug-ins for 3DS Max – FumeFX and Krakatoa. Once I had gotten over the initial barrier of learning the new interface of these plug-ins, the process was relatively simple.
First the smoke movement is generated in FumeFX from an emitter object.
 Emitter Object
This FumeFX data is then loaded into the inbuilt 3DS particle generator and is used as a movement path for the particles.
 Particle Generator
After this Krakatoa is used to render out the particle flow. The below image is a still from the render sequence showing 6 million particles.
 Krakatoa Concept Image
CAMERA & LIGHTING SETUP
When rendering animations it is particularly important to keep render times down. I was rendering at 25 frames per second so at just 20mins per render it was taking over 8 hours to get one second of footage, which was not viable when working on just one laptop and being limited to rendering overnight so that I could work in the day! Therefore I had to work hard to keep render times down by testing out numerous regional renders and finding a balance between quality and speed.
Consequently it was important not to overcomplicate my scene with too much lighting and to keep the shadow subdivs relatively low. I relied mostly on a V-Ray sun, V-Ray light sphere with HDRI attached and V-Ray IES lights for the interior shots with V-Ray light materials applied to the light objects themselves.
 Lighting Wireframe
 Lighting Setup
I always use V-Ray physical cameras as I enjoy the level of control you have over the final image. There is nothing much to say about the camera setup itself as it is relatively standard. The composition of the shot was always key though as there was never a chance to re-render an animated scene due to time constraints. One technique which I used to assess camera movements and positioning was to export the shaded viewport without any materials or lighting via Tools>Grab_Viewport>Create_Animated_Sequence_File. This basic file would export in a few seconds and enable me to preview the animation. I worked with a ‘Rule of Thirds’ grid and would always fully render a still image and work up in post production in order to test the finished result. Only after all of this was I ready to render the final scene.
MATERIALS
The material setup was another area where I had a conflict of interest between creating good quality materials and keeping render times down. The materials were therefore not overly complicated and fairy simple to set up. Below is one of the more interesting examples.
 Concrete Texture Setup

RENDER SETUP
When rendering the final version I saved out the light cache and irradiance map for the entire sequence then loaded them in again from file. The light cache is calculated for the entire sequence in one go and the irradiance map can be calculated for, say, every 10th frame and then averaged out across the entire render sequence. There is a dual purpose to this in that it both saves time and can help to smooth out the lighting levels across the animation and reduce flickering; it is therefore very important when working in film. Chaosgroup provide an excellent tutorial of this process:
Below is a typical render setup of one of my scenes. I spent a lot of time here testing out renders in the V-Ray frame buffer with the regional render tool in order to test materials and render times. The render elements were the key to my post production process as I will show in the next section.

POST PRODUCTION
During the process of making the film I grew to prefer compositing in After Effects than in Photoshop, even for still images. There are a number of aspects of AE that just work better than Photoshop for compositing such as the adjustment layers which can be used to non destructively edit the layers beneath them not just with colour correction effects (as you can in Photoshop) but also with other effects such as Depth of Field and motion blurs.
A few plugins are worth mentioning here as I found them to be extremely useful to my process and enable a sense of individual style. I used Magic Bullet Looks for colour correction, Frischluft for my depth of field and Video Copilot Optical Flares for lens flares.
The video below shows the compositional breakdowns for one of the scenes in my film and for one that didn’t make it into the final edit.
 Post-Production in After Effects
2.5D AFTER EFFECTS
The overhead shot of Canary Wharf in the last scene of the film was created in After Effects from a 2D photo. Although I had actually spent some time modeling the buildings of Canary Wharf, I ran out of time to render the scene and so I resorted to using 2.5D techniques learned from the Video Copilot website. I used the below sequence to achieve the final result.
Firstly I manipulated the photo in Photoshop – painting into it to show the spread of orchids throughout the district. After this I cut out all of the buildings one by one, starting with those in the foreground and using the clone stamp tool as I went to paint in the area behind the buildings as I removed them from the scene.


Once this was complete, I could take the images into After Effects and pin them one by one to the background image, to which I had applied a heavy parallax effect too. This segment of the film took just an afternoon to achieve in 2.5D; if I had gone for a full 3D shot it would have taken days.
 Project Stills
You must be logged in to post a comment. Login here.

sal talamo
Report Abuse
Great work!!!!

MW Studio
Report Abuse
Great work!!!!

Hrishikesh Padture
Report Abuse
Amazing!!

Deepak Chaudhary
Report Abuse
superb

Rodrigo Mila
Report Abuse
AWESOME!!!!
About this article
Making of Symbiotic Office Richard Black
visibility19.2 k
favorite_border18
mode_comment5


