

Making Of
The Making of 181 Fremont
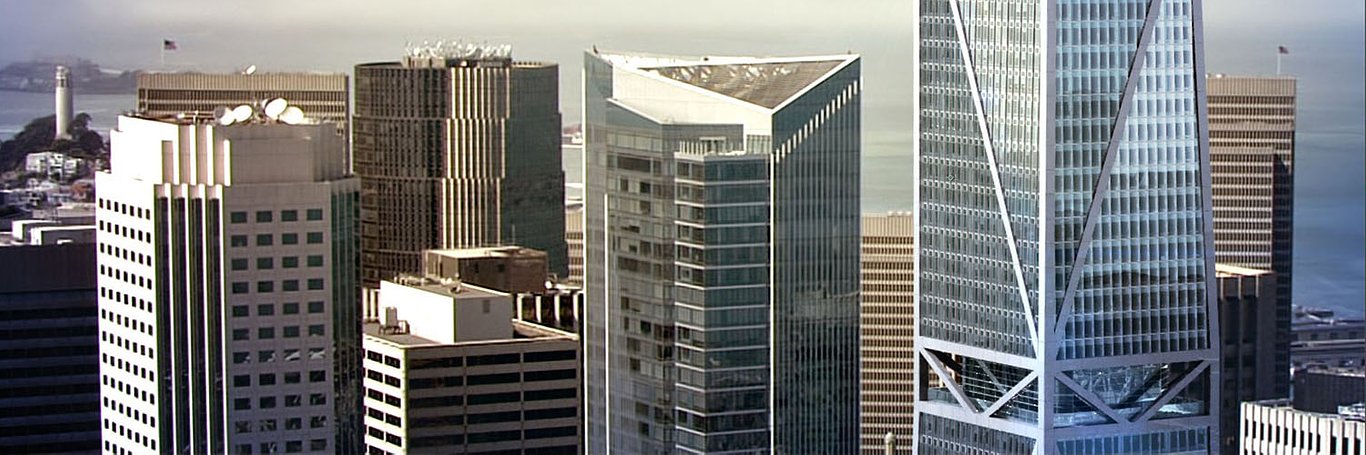
When we were engaged to create the teaser film for 181 Fremont in San Francisco, we knew that we would need to utilize our entire toolset to achieve the quality and look required for such a high-profile project. This meant a lot of aerial film work to capture the iconic skyline of the city, complex tracking shots, projection mapping, compositing and of course the 3D for our new building.
A variety of software packages were used including, 3ds Max, V-Ray, Syntheyes, After Effects and Premiere.
In the interest of brevity and reducing redundancy, we've opted to take a couple shots from the film and walk through from start to finish. Many of the shots followed a similar workflow.
 Top Spin Screenshot
One of the biggest challenges working in San Francisco is our weather. Because we were shooting aerial footage for many of our back plates, we had no choice but to use the fog to our advantage and create the ubiquitously foggy/sunny quality of light for our building. This proved incredibly tricky for the look of our glass as we know this is always a sensitive subject for our clients and incredibly important for this project in particular.
For reference we began by photographing glass samples both in direct sunlight and shade and at various angles as the faceting of the superstructure provided varying degrees of angles no matter where the camera was placed.
 Glass Materiality
Pre-production is the key to any aerial shoot to make sure you’re maximizing your time in the air. Using Google earth we created animated paths to check composition and timing to direct the pilot and DP properly. Using the horizon, background elements like bridges and mountains and large, recognizable buildings, we could always tell where our tower should be in the frame and at what angle.

 –Bell 407 Helicopter with Nose Mounted Cineflex
 Mike and DP, Cineflex Control Board
For this particular shot getting accurate reflections and surroundings were going to be important to pull it off. Steelblue has a 3d model of the past, present, and future versions of San Francisco. Breaking out a piece of the model surrounding 181 Fremont for reflections and shadow casting was helpful to get an accurate portrayal. I wish I could provide some insight on how to deal with a heavy 3d asset such as this. Truth is that it's heavy, and challenging. Using xref's/smart layer organization was helpful. When moving around in this heavy scene, setting up a hotkey to toggle between shaded view and box view mode proved helpful as well.
 Snapshot of the surrounding 3D context we used for helicopter shot reflections/shadow casting only.
 – A typical daylight system using a vray sun and skylight. A similar sky for HDRI loaded into the map section of the sylight. We generally used vray sun at an intensity of .01-.03. We used vray physical cameras with exposure on. Typical settings were fstop 8-16, shutter speed to 1, and ISO to 100.
 Some additional environment, xref, and sun sky settings.
Once rendered, layered EXRs were brought into After Effects for post production. There we used typical matte passes for glass, superstructure, mullions, shadow boxes, etc. Final scenes would make their way to Premiere for editing and finally media encoder for final exports.
Video breakdown from previz to final shot:
One of the most challenging shots was the top down view below. We learned the cineflex system has a hard time trying to reconcile the horizon when it's pointed straight down. It tends to wobble and tries to stabilize best it can, which left us with less-than-desirable camera motion.
 Screenshot of 'top down' shot over future Transbay Park
To track the shot we used SynthEyes, along with a combination of Google Earth, Sketchup and our city model to extract measurements accurate enough to create a 3D camera.
 Screenshot of SynthEyes setup
This particular shot proved challenging not only from a tracking standpoint, but from a repair standpoint. The site as it stands currently is a large hole in the ground surrounded by construction equipment, some of which blocked what would eventually become cleared city streets. In order to achieve a realistic, clean city, it required us to extract frames from the video, paint out the new intended city, and camera map that onto geometry from Sketchup. Other pieces that required painting were streets where the existing building shadows meet up with our new building shadows.
 Screenshot showing footage before/after, painted in photoshop
Due to the parallax of the camera angle, there was a lot of overlap of taller buildings with our CG. Utilizing our city model again, we were able to create masks for existing buildings and composite them over our new renderings instead of rotoscoping each of them by hand.
 3ds max screen grab showing the geometry that was used as camera projection backplate.
Adding reflections of the adjacent Millennium Place was the final touch to get the CG to blend in with the existing footage.
Breakdown of the passes here:
Final video:
Cheers,
Steelblue’s Mike Brown & Jon Peake
You must be logged in to post a comment. Login here.
W
Wil Vaughn
Report Abuse
Wow!!! Great job!!! I see offers from film coming through the door soon.
About this article
The Making of 181 Fremont By Steelblue
visibility12 k
favorite_border5
mode_comment1


