
Other
Steelblue Unveils Largest 3D Printed Interactive City Model of San Francisco
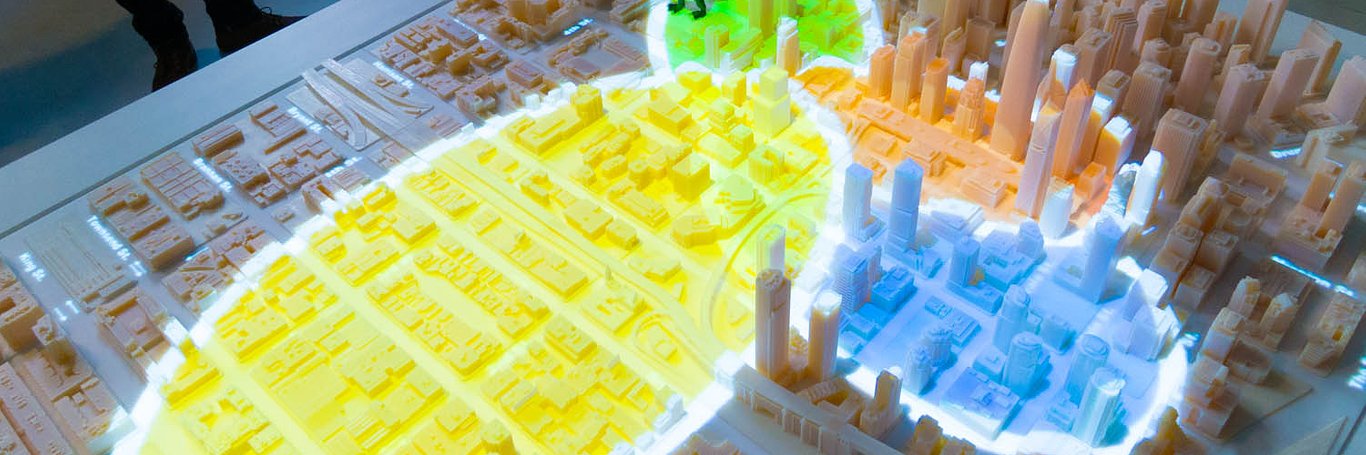
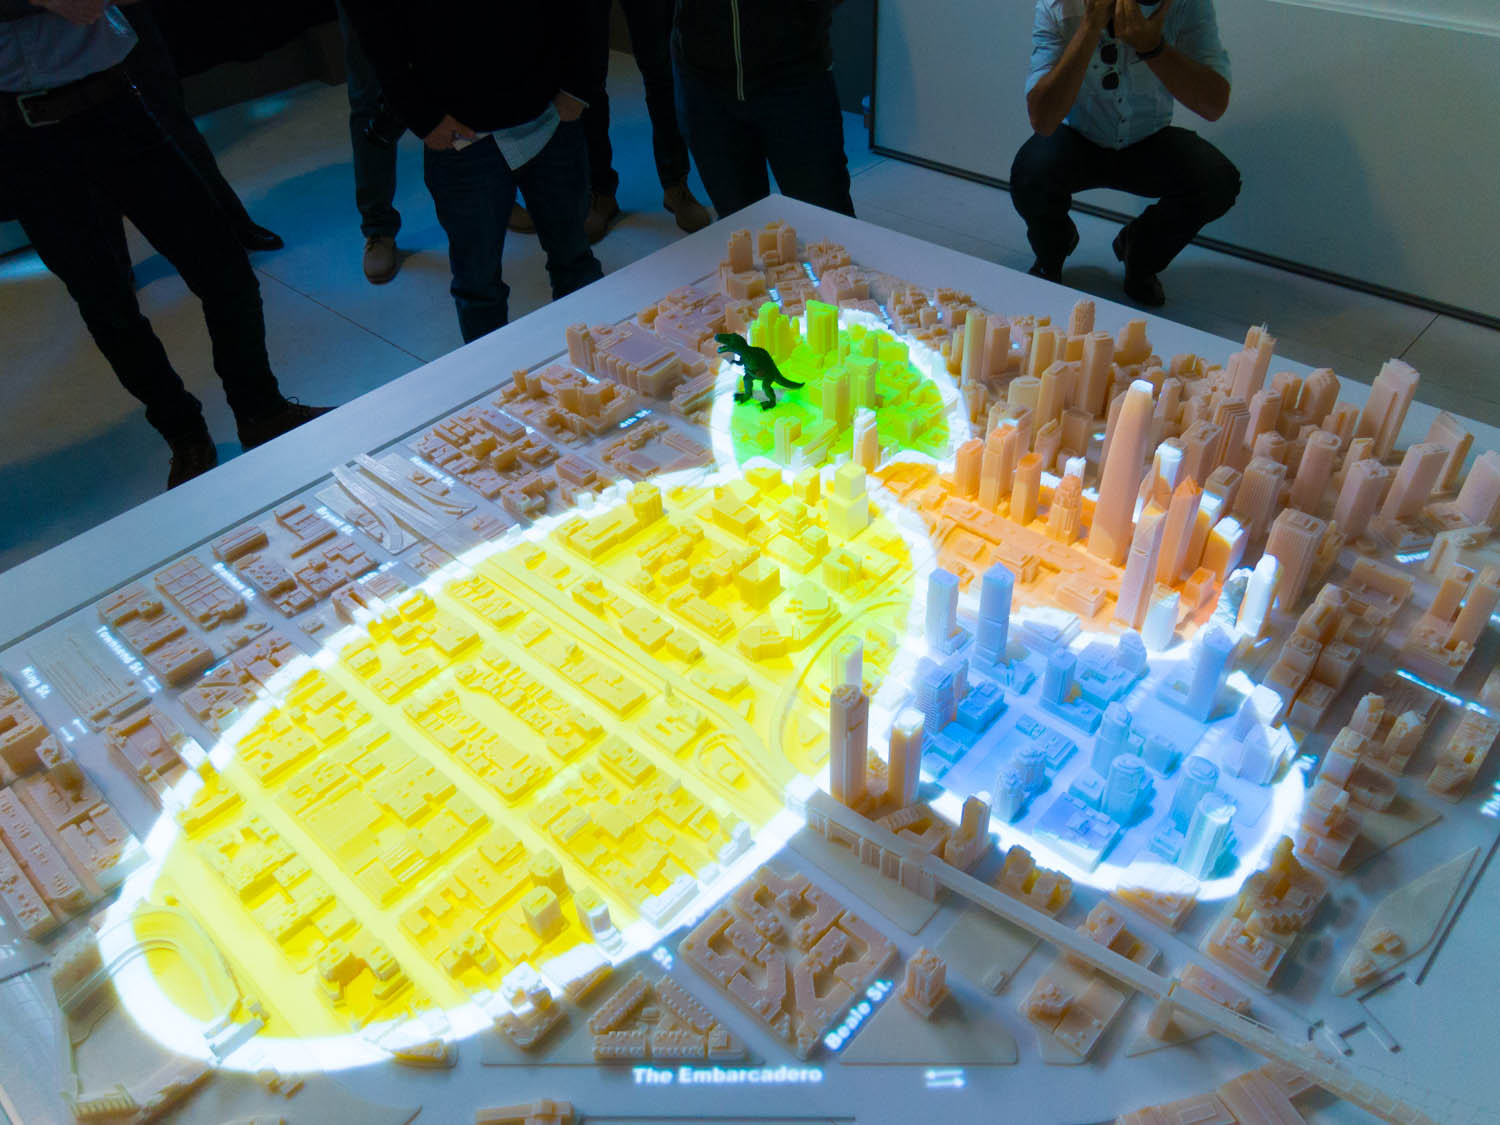
Every few years a company raises the bar just a little bit higher in the visualization field in an ongoing quest of better communicating and marketing architecture, and to tell a more compelling story. This week San Francisco based Steelblue did just that as they unveiled the largest 3D printed interactive city model of San Francisco. In collaboration with Autodesk, and their Pier 9 fabrication facility, Steelblue printed 115 blocks of San Francisco down to the most minute detail, augmented with a carefully choreographed projection system.

The model was created for their client Tishman Speyer to aid in explaining the story of urban development in the SOMA neighbourhood of San Francisco. Steelblue president O’Brien Chalmers commented “With 3D printing, we add in a rapid-prototyping capability. We can swap in buildings or entire city blocks to explore design options and to keep the model up to date in rapidly evolving neighbourhoods”. The 150 lbs model however took on a life of its own with an interactive data layer projected onto the model in real-time. “Adding layers of data visualizations gives us even more power to understand and visualize the way new buildings and infrastructure will impact the urban landscape and the people who live and work there.” added Chalmers.
The model was printed using a city model that Steelblue has been working on since 2008. They have been adding detail to their model on a per project basis, but had to rebuild the entire model for this project in order to add supplemental details to the buildings and another layer of fidelity. Items like spires, overhangs, columns all needed to be adjusted or added.


The city model was printed at 1:1250 scale using two Objet500 Connex printers. Steelblue was able to replicate details down to 30 micron, which at that scale represents just over 1 foot (0.3m) in real life. Although the printer is capable of printing at a resolution of 16 micon, they opted for a bit more speed in order to get the project completed on time. This however was no simple feat and took Steelblue two months of printing five days a week for 18 hours a day.
The model could have been printed quicker by combining more elements onto the printer’s built plate at once, but I was told they opted to play it safe due to the possibility of losing an entire print to a potential print failure.
The added data visualization layer, projected by a specially calibrated overhead projector, really brought the model to life and showcased just some of the possibilities to augment the interactivity of the model. As O’Brien Chalmers presented the model to a select group of journalists, he interfaced with an iPad to remotely control the projected imagery. Specific buildings, roads, areas, could all be highlighted individually, including traffic simulations, road names and animated sequences. While this particular display only used one projector, the team is looking into the possibility of multiple display projections to take it to yet another level.
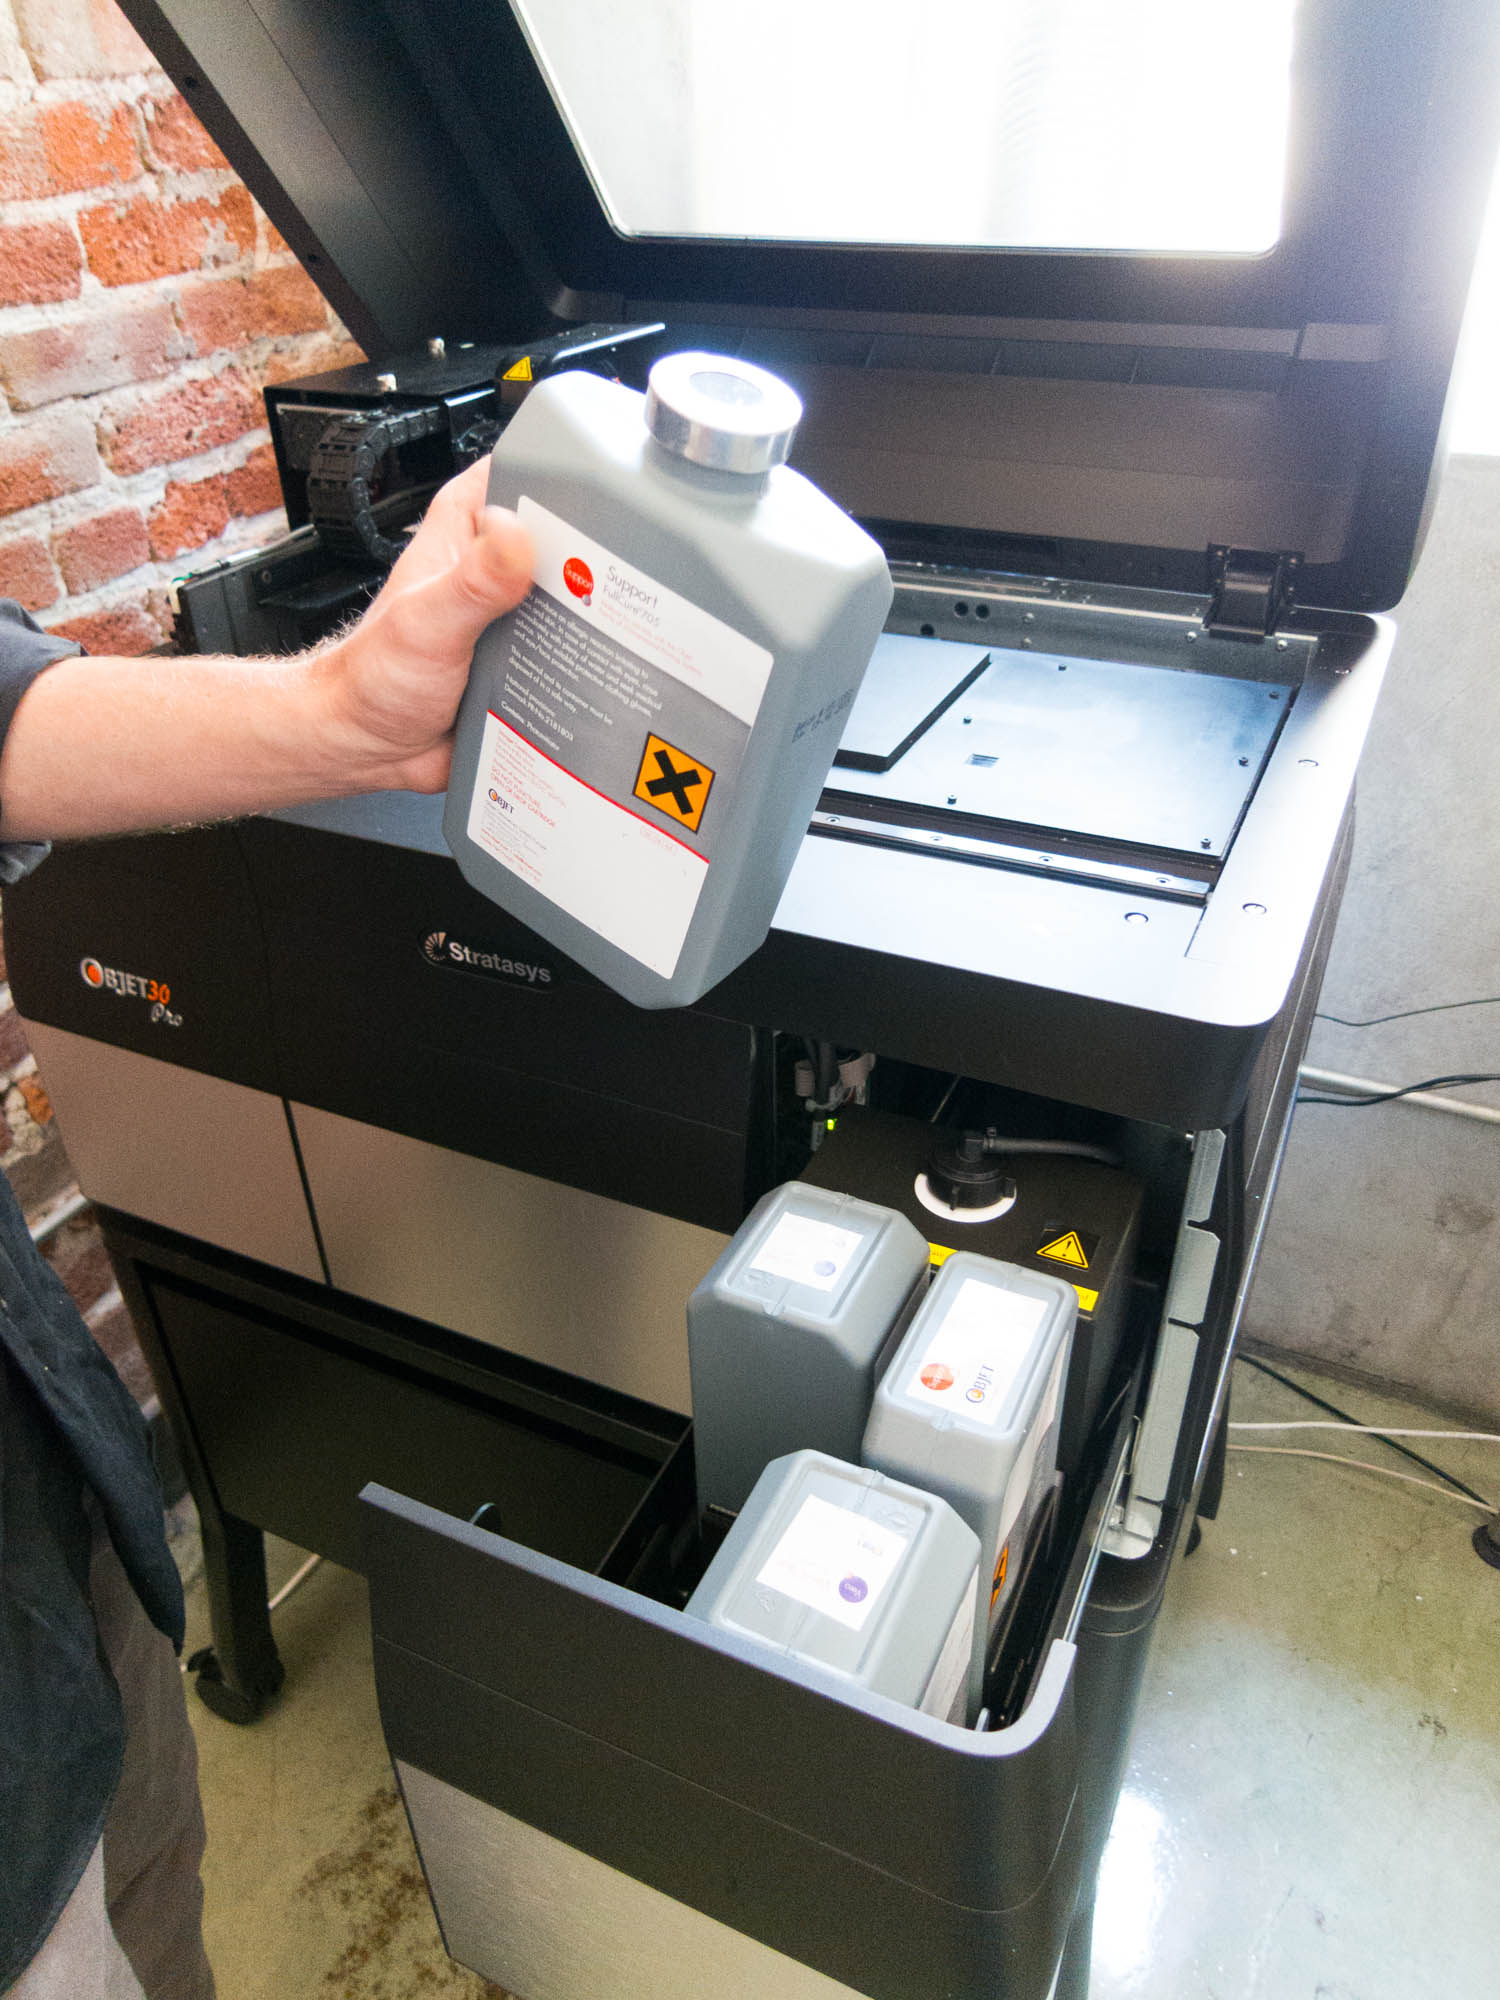
I asked about the price of this project and how the printing of this model compared to traditional physical architectural models and was surprised by the answer. As it turns out 3D printing was not only significantly cheaper and quicker to build, but also produced a significantly more detailed model. A comparable, lesser detailed, model was quoted to cost around $300,000 to produce. The team was able to print their model at a fraction of that cost, though those Connex printers don’t come cheap. The two machines used over at Pier 9 would set you back a whopping half million dollars. Steelblue is still fully committed to the medium however and recently purchased their own Objet printer in house, though it’s the smaller cousin to the one used at Autodesk. Both smaller and slower, the Objet 30 Pro cost just under $50,000, but is being well used. Visiting the second floor of the Steelblue office, they have converted it into a mini 3D printing factory. Model editing workstations, post production tables, and layout areas with parts of top secret projects all carefully organized for assembly.
 |
 |
Loading resin into Steelblue's Objet 30 Pro (Left), Build platform (Right)
Having my own personal interest in 3D printing, and my own 3D printer, I was keen to dig a bit deeper into the technical details of the project. I spent a few hours with Jake Gubler, one of Steelblue’s two full time 3d printing experts to walk me through their process.
Each city block took 6-18 hours to print depending on the size and complexity of the block. Not including the post production clean up that was involved.
If you are not familiar with 3D printing, models are printed layer by layer on top of each other. How it does this depends on the type of process used by the printer, but in most cases a model will require support material to hold the actual model in place while it’s printing. You can’t for example print a large overhang of a building cantilever over thin air. Sadly 3d printing has not overcome the laws of physics, so support materials are also printed along side the model.
In the case of the Connex machines, a yellowish waxy material is deposited around the model during the printing process. This material has to be manually removed once the printing is complete and can take up to 45 minutes using small dental tools to extract and cut away. Jake, who said he prefer modelling the most, gets into a zone when it comes to the tedious process of model cleanup - his least favourite part of the printing process. The team has been experimenting with different methods to remove this material, but all have their drawbacks. Water for example will dissolve the material, but when it’s inside a building it swells and can break or warp the model.
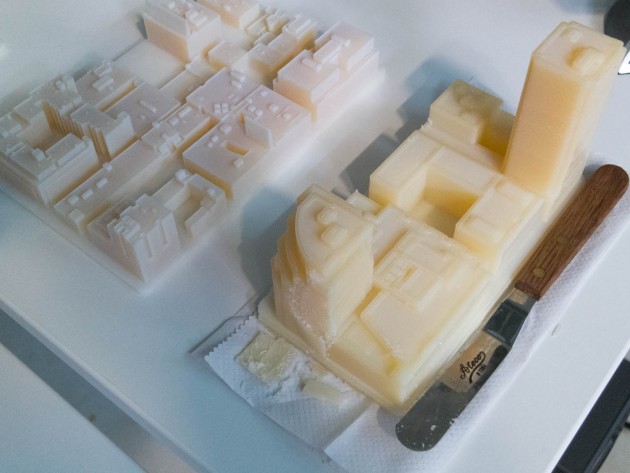
Removal of support material for post processing of model (model on right)
The process of getting the models print ready is also something that takes the team a fair bit of time to prepare. In addition to adding all of the extra details to the models, scale is something that has to be reviewed carefully. If a detail is too small it won’t print at all, and that means sometimes having to cheat the model. The steel cables holding up the Bay bridge for example, would have been as thin as hair if they had been printed to actual scale, so those had to be scaled up in the final model. A number of other buildings in the model were also cheated.

Once a model is complete, they bring it into an STL editor (Magics) to perform various clean up functions to ensure the models prints successfully and is done so in the most efficient manner using the least amount of material in the least time. And when it comes to materials they come at a premium. At 30 cents per gram, a model can cost nearly a thousand dollars to print in material costs alone on their in-house machine. Fortunately Magics does a pretty good job at estimating material usage for any particular model, but when a mistake can cost you hundreds of dollars, it’s important to try to get it right the first time.
 |
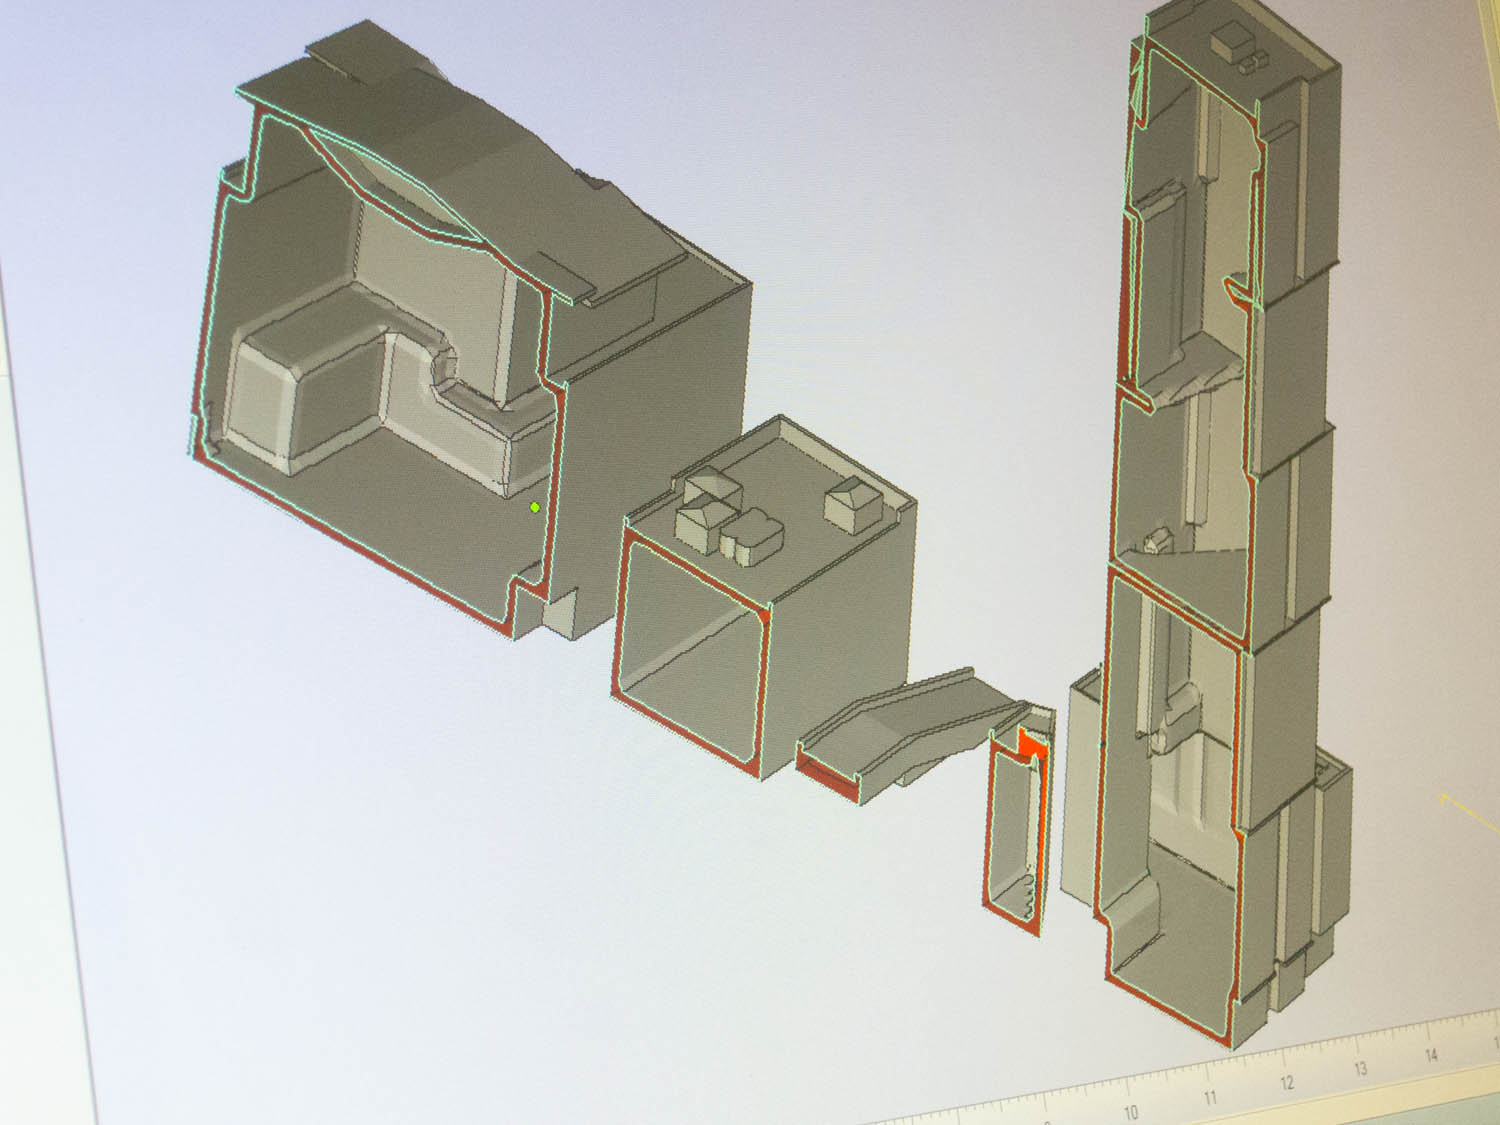 |
Model cleanup and review inside of Magics
Once a model is ready for printing they submit it to Objet’s proprietary software to output on the machine. A series of micro jets on two prints heads lay down thin layers of resin on the build plate and a metal roller passes over each layer to ensure perfect consistency between layers. Every three layers a UV light cures the resin and the process repeats until the last layer in the model is done and the model is cleaned up and ready for display.
The projection system for this project was a single projector that projected camera mapped overlays and animations onto the model. As projectors do not output the image perpendicularly to the light, they had to skew (perspective correct) all of the footage before it could be displayed on the model.
 |
 |
Projection light path (Left), Camera corrected projection image (Right)
There was a palpable sigh of relief when this project was finished, but when asked about future projects on their new 3D printer, O’Brien commented that they already had a backlog of projects on the go and possibly the addition of more printers to their office in the future. The folks at Autodesk are also expected to re-print the model so it can be displayed in the Autodesk Gallery in San Francisco where it will be open to the public.
For more information about Steelblue you can check out their website here: http://steelbluellc.com/
Post by CGarchitect.com.
You must be logged in to post a comment. Login here.
H
Hassan Yamani
Report Abuse
Amazing
J
Joshua Fuhrman
Report Abuse
If a designer was interested in doing another city (at say a more affordable scale 1:2500), would he or she need to obtain a license from the city etc... in order to sell those printed models?

D.L. Patton
Report Abuse
An awesome and time intensive undertaking but well worth the wait.

pooya heydari
Report Abuse
very good
do u know which 3d printer is best for architectural Model?
a cheap one :)
Diego Rojas
Report Abuse
any recommendations to learn the technique of projection mapped?

Jeff Mottle
Report Abuse
Definitely. It's cheaper than a physical model by about 1/3 to 1/4 with better level of detail, even if you had it printed by a 3rd party service. If you were doing it enough and purchased your own machine then it would pay for itself pretty quickly. It's not cheap, but then neither are physical models.

Sketchrender Ltd
Report Abuse
Is it cost efficient to do yet?
I don't think it is there yet.
Diego Rojas
Report Abuse
Friends, you know where I can learn the technique of mapping project?
somewhere, or forum?
s
suming wish
Report Abuse
good!

Marko El Fuego Stojkovic
Report Abuse
Excellent. Very unique way of presentation. It would be cool to make some hologram effect in the air in the future(like holodeck). Or, some twinkle light on buildings.
Overall, impressive!!!
About this article
Steelblue Unveils Largest 3D Printed Interactive City Model of San Francisco
visibility24 k
favorite_border18
mode_comment10


