

Making Of
The Making of Paracete
The Making Of "Paracete" by artist Tianyi Zhu
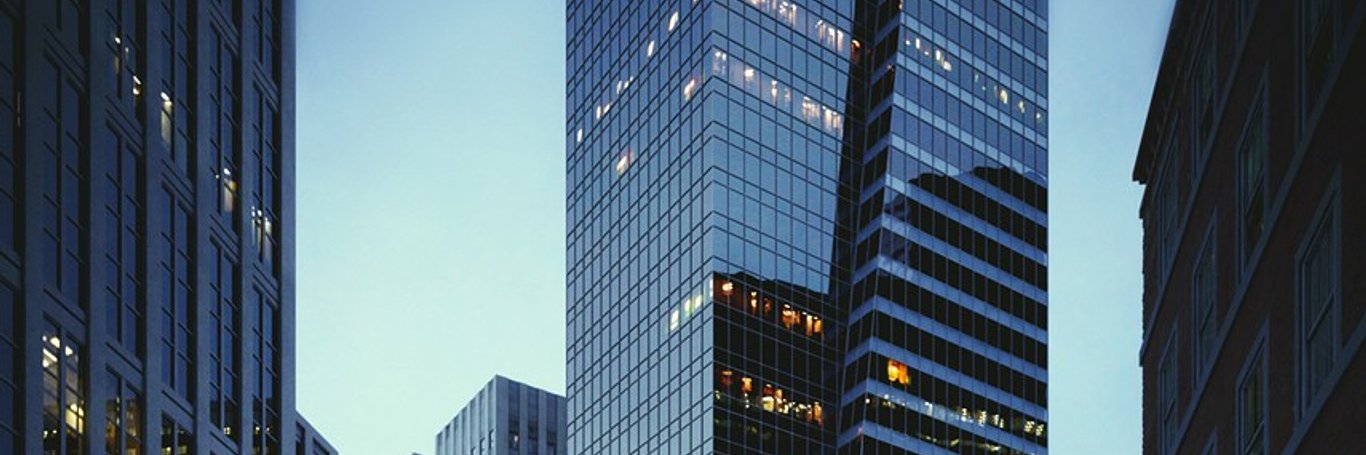
The Final Image:

This is the wireframe for the main building is by usual way to make. For the surrounding buildings, I used the techniques in the video here: http://area.autodesk.com/tutorials/texture_modeling_for_games_with_3dsmax_2011 and here: http://www.evermotion.org/tutorials/show/7979/tipoftheweek-3d-building-modeling-part-1

Next I establish the tone and feeling of the scene. Choosing the right sky map is the most important thing. I use a cylinder to simulate the sky and adjust the brightness to match the reflection of the glass. Of course you can do it with an HDRI map as well, however I used to use the sky map on a sphere or cylinder. I find it easier to adjust and the the render setup is simpler.


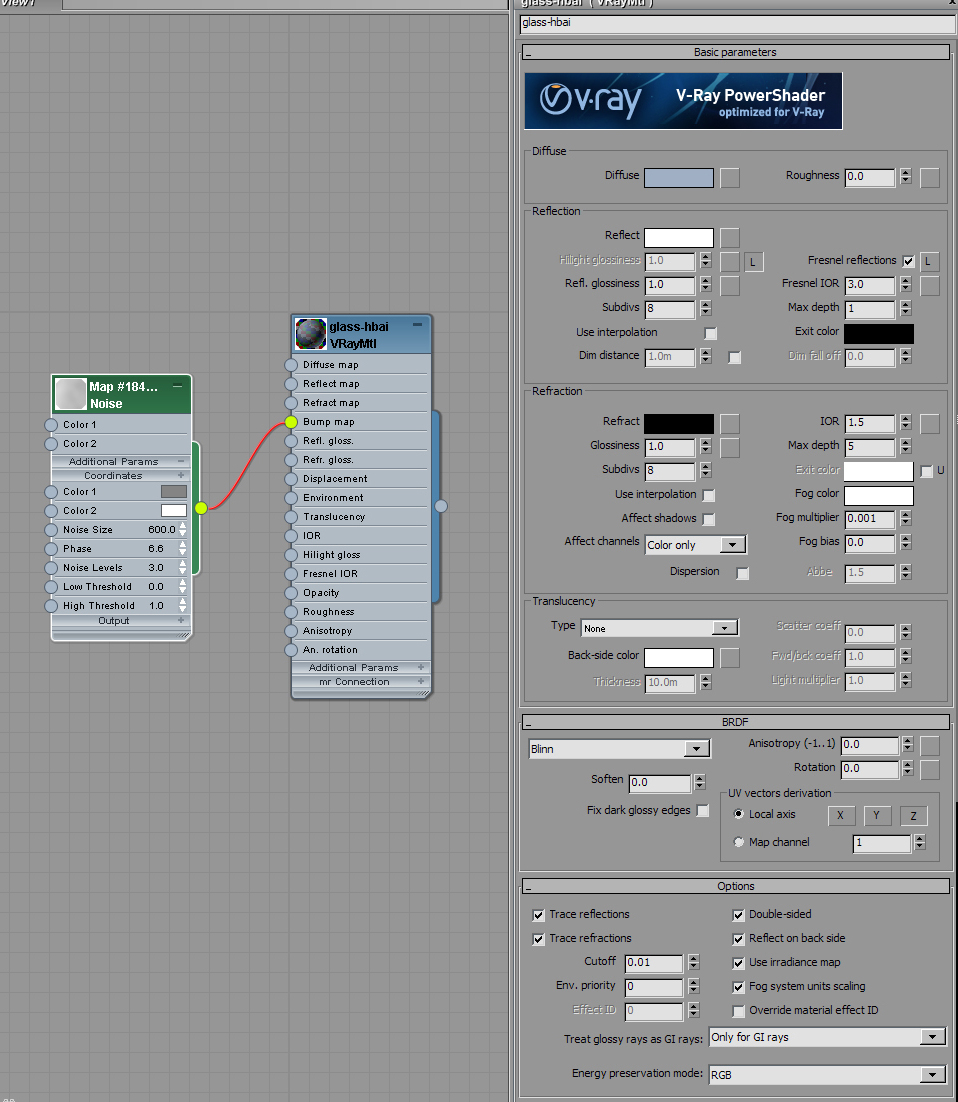
This is the glass material adjusted with the sky. The refraction color is little pink to match the light map behind the glass. I want a warm colored light in the interior.

This is another glass shader setup.
The light map behind the glass (ID1) is with light. You have to adjust it to fit the perspective of camera. ID2 is just black to simulate the unlit offices. All the materials are lit in the same way.

This is light positions in the annex and some simple billboards. There is no main lighting in the scene.

These are the small lights and the result.

The sidewalk material uses Refl. Glossiness, Reflect, and Bump map to simulate the wet ground.

I could not recall how I did the material for the road once I finished. :)

The maps forthe road.

The image below shows the light trails for the cars to make the scene more interesting.

I used a light map to make the reflection on the road more realistic. Its property is invisible to the camera.

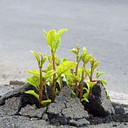
The trees are from the ICUBE model library. For the branch I used particle system > PArray or PF to create the small lights on the tree. Pick the tree as an object-based emitter.


The setup for the street and zebra crossing material.

In the image below you'll see the material for the surrounding building. The maps on the wall and glass and a segment of glass all surround the buildings the same way.

This is another building that you can not see but it is used for reflection in the glass. It's just box and a light map.

The image below is the raw rendering. Next there are two steps in photoshop: 1) Render the people layer, then blur and merge it in Photoshop. 2) Ppaint a little red for the car light trails.

In Fusion I first adjust the rackdefocus for a little bit of blur. The bright part can be more like a photo.

Then adjust to make it a bit brighter.

Add a vignette to make it more like a photograph.

Add a little glow to soften the image.

Adjust the color a little bit.

Blur on the sky with no gradient color level in the end. Up to now all of the adjustments have been small with just little changes. All of this work is for the next steps.

Use filmstyle for the contrast strength.

Adjust the brightness a bit more.

Adjust the color one last time and we're done!

You must be logged in to post a comment. Login here.

MG Design UK
Report Abuse
Great write up and you make it look so simple (if only it was!!!!)
Sachin Mahajan
Report Abuse
Thank you miss :)
Jo Hannes
Report Abuse
Thank you.
blalank 3dviz
Report Abuse
very nice... thanks... :)
About this article
Tianyi Zhu's exquisite Paracete scene broken down into the all of the steps from start to finish.
visibility101 k
favorite_border109
mode_comment44


