Do you know the critical elements required to create an interior rendering of a house? It is a process that involves various technical aspects related to design and lighting. But before we dive into its details, let’s examine why an interior rendering of a private house is necessary. This blog post will cover the facts behind creating an interior rendering of a private home, including the pre-production process, production setup, post-production process, and best practices.
The Purpose of the Interior Rendering
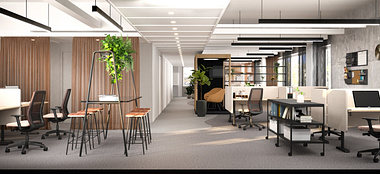
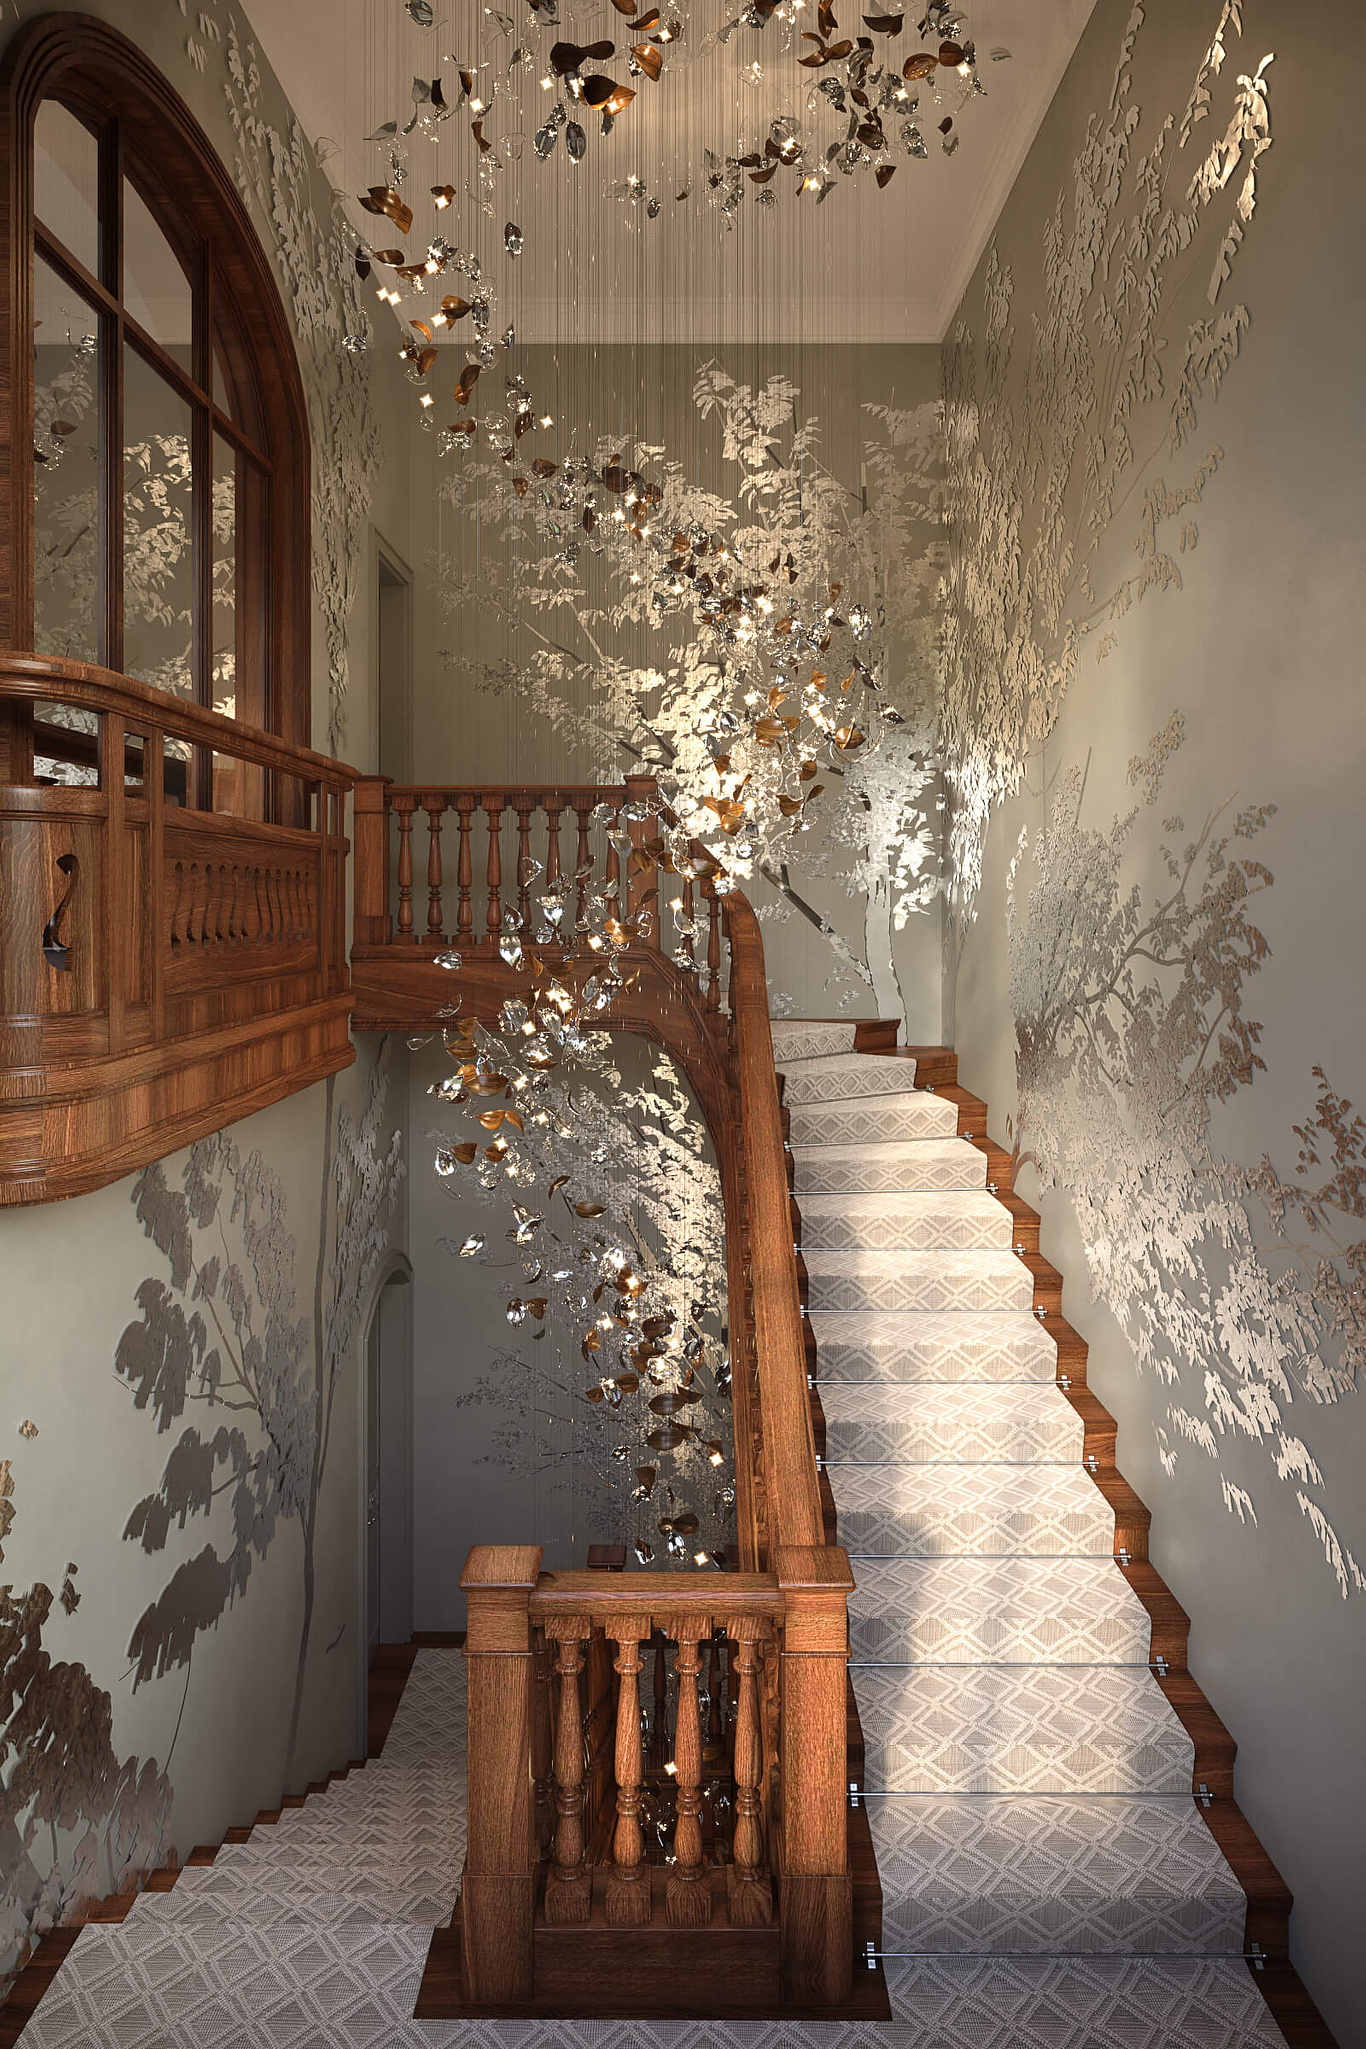
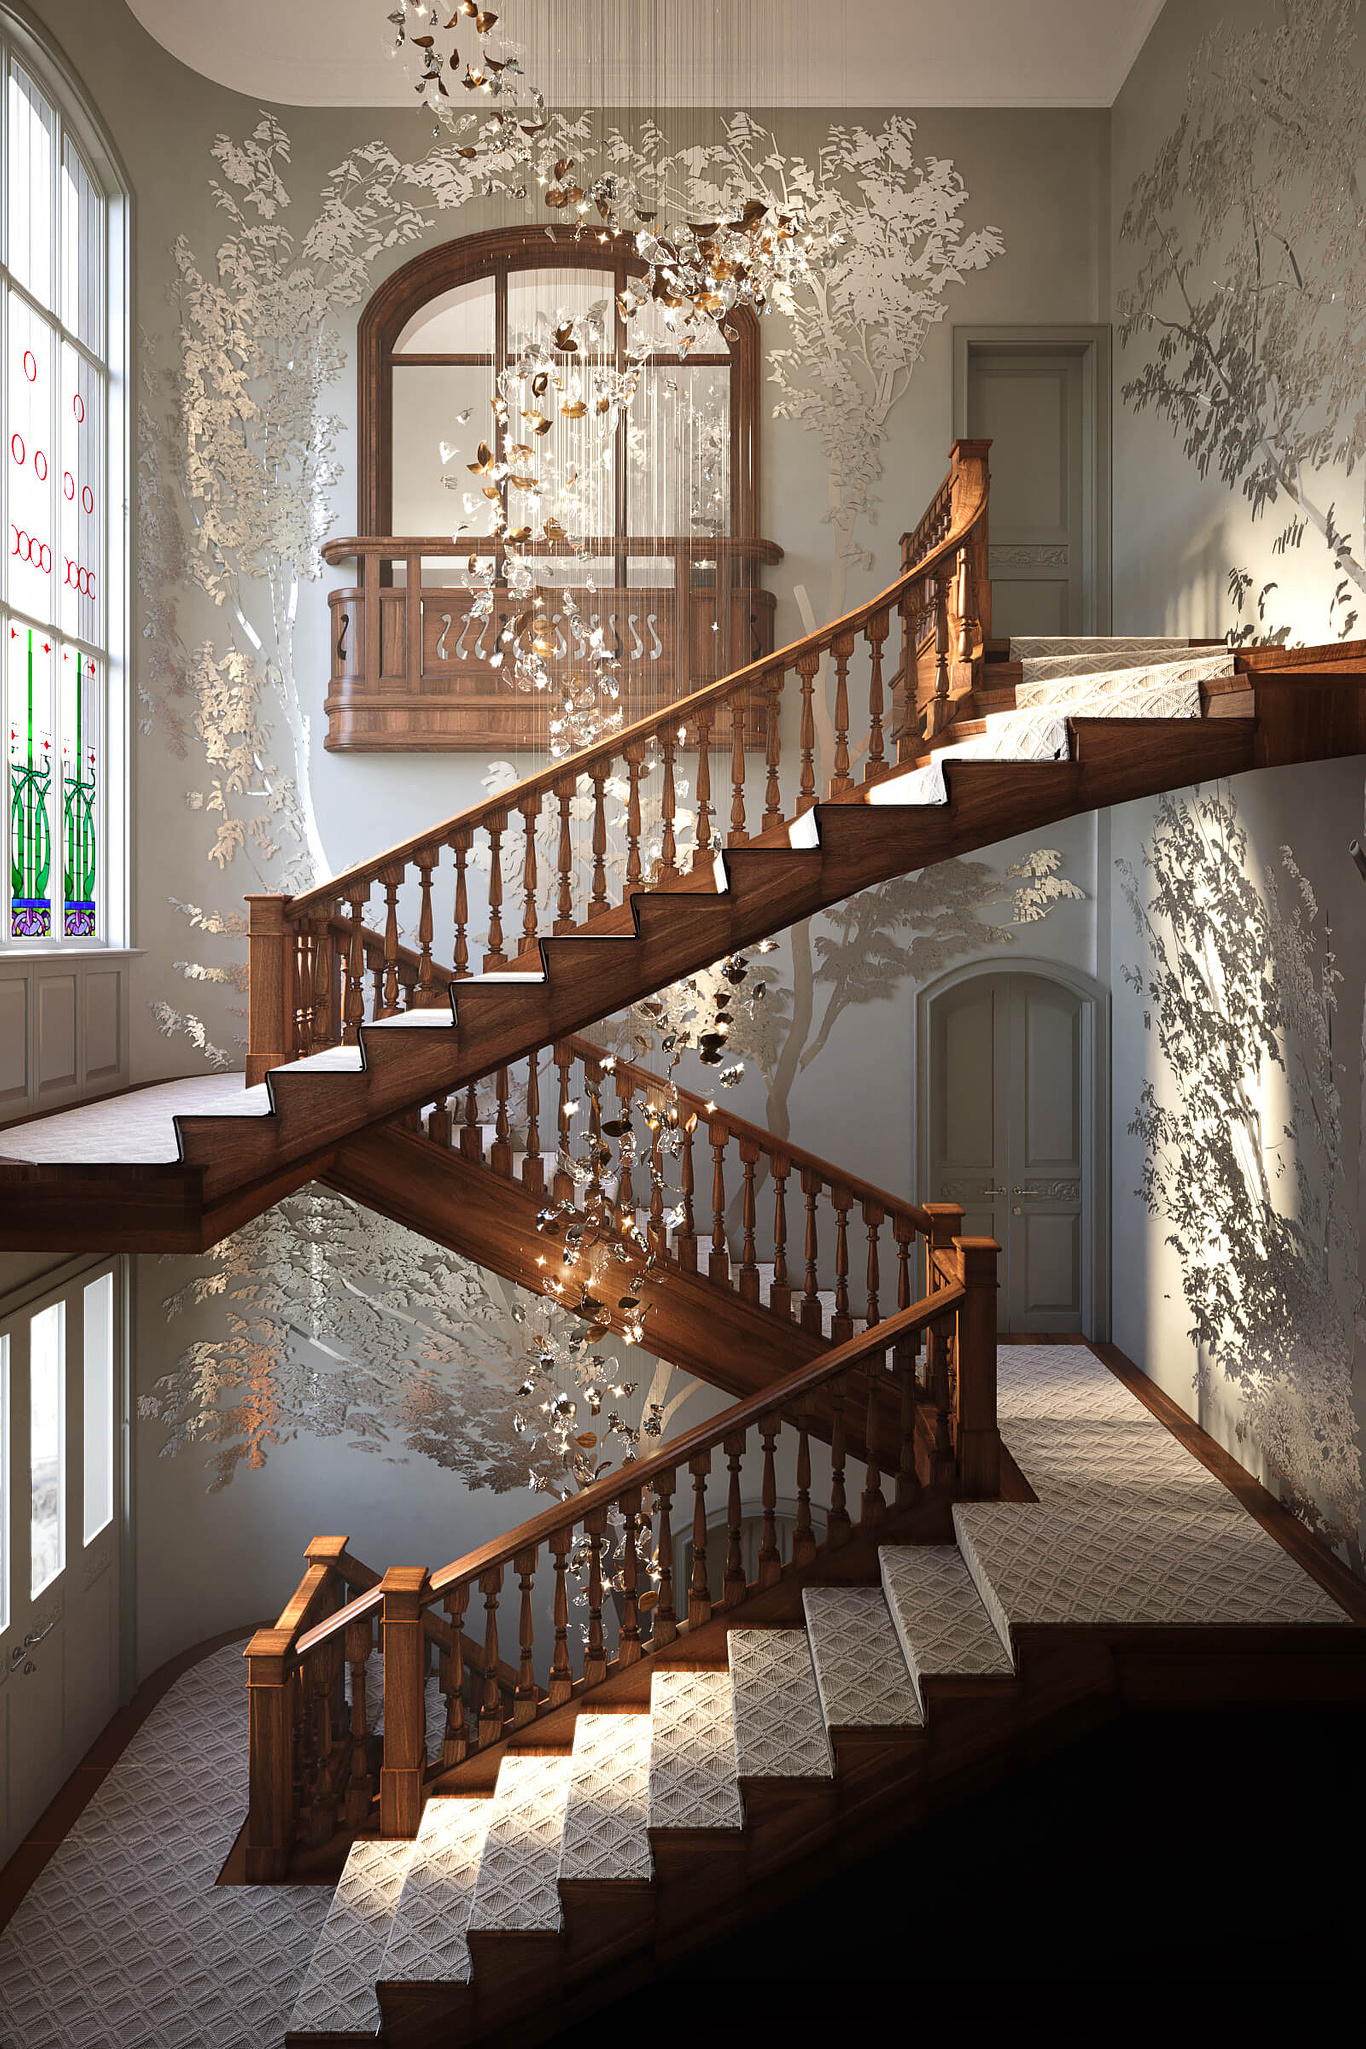
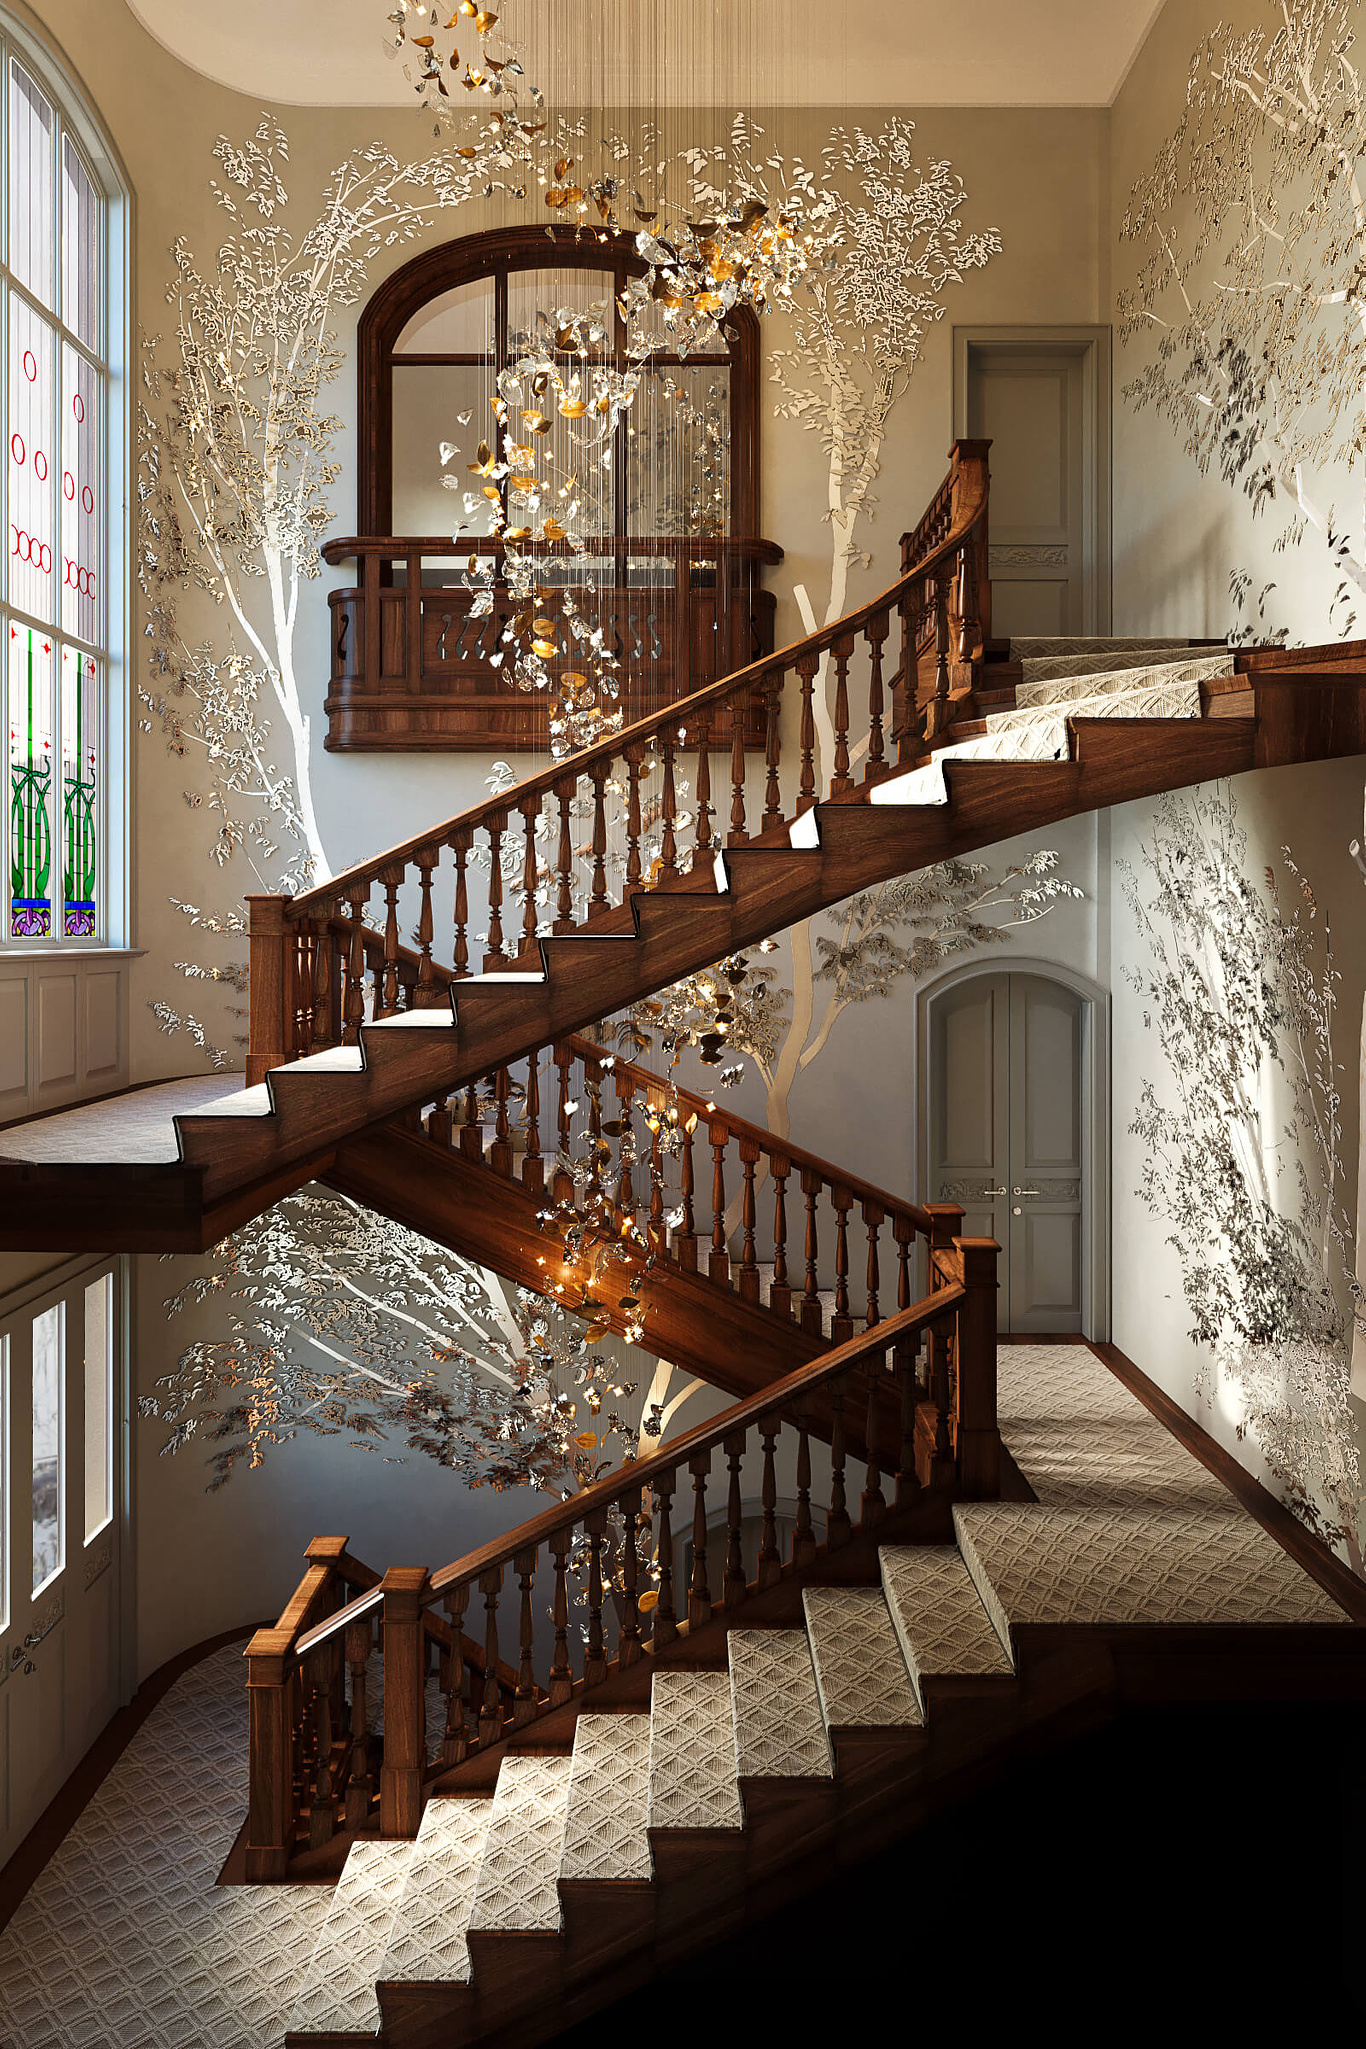
An interior rendering is nothing but an image that depicts the design of a house or apartment. It is like a virtual walk-through of an architectural building plan. Interior renderings are primarily required in real estate projects, especially home staging, 3D architectural walk-throughs, and design visualization. We can say that an interior rendering is a photo of a virtual space that is created using computer graphics technology and software. Interior renderings are used for several reasons, such as -
- Presenting the design and layout of a building or architectural project to clients or investors.
- Providing a 360-degree visualization of architectural design, floor plans, and fixtures.
- Providing a virtual look and feel of the design, fixtures, and finishes.
- Showing the client the design of their house before it is built.
Pre-production Process
Pre-production is all about planning and creating a mood board before you start the actual production of your interior rendering. It is a crucial step where you will decide the mood and feel of the image. The type of image you select will help determine your image's spirit. A mood board is like a collage board comprising various pictures representing the mood, theme, and feel of the idea you plan to create. Apart from photos, you can also include sketches, textures, and color swatches. Building a mood board for your interior rendering starts with deciding the rendering you want to make.
Production Setup
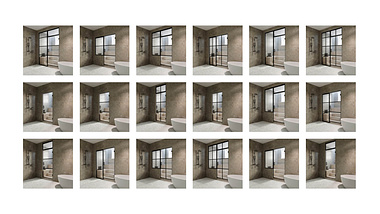
The first step towards creating an interior rendering is deciding the type of camera that you want to use for rendering your image. You can use the human eye-level placed camera to visualize an interior rendering. The next step is deciding the type of light you want. Choosing a closed room with a white or grey wall as your background is better for interior rendering. Choose a room with large window areas to get natural light from the outside. Avoid making your image in areas with high contrast or low light levels. Keep in mind that if you want to create an image with a warm feel, then it is better to use the evening setup with natural light from the outside. Whereas, if you want to create an image with a relaxed feel, then it is better to render the image with the morning natural light from outside.
Post-Production Process
Now that you have completed the shooting part of your interior rendering, it’s time to focus on the post-production process. The critical elements of post-production are - setup, environment, and lighting. The format is about deciding the camera you want to use to create your interior rendering. You can use different cameras for different renderings like architectural rendering, architectural walk-throughs, product shots, or interior design. The environment is all about deciding the location of the room that you want to use in your interior rendering. You can choose a closed room with a white or grey wall as your background. To create a vibrant interior environment, it is better to use a room with large window areas. Avoid shooting your image in areas with high contrast or low light levels. The lighting is the most critical part of the post-production process. You can increase the realism of your image by adjusting the brightness and color temperature of the light sources in your rendering. Choose the light sources representing the lighting you want to use in your interior rendering. You can create a unique lighting effect by combining different light sources.
Best Practices
To create a professional-level interior rendering, you must keep in mind the best practices related to design and lighting. You can follow these best practices to create a high-quality rendering - - Use a neutral color palette with a limited number of colors. A neutral color palette will help you in creating a color balanced rendering. - Keep the design elements to a minimum so that they don’t add more clutter to your rendering. - Use patterns and textures that match the design elements used in your rendering. - Choose a light source representing the natural light from where you want to shoot the image. - Shoot your image in the morning or evening to create a warm feel, or shoot the image during the day to create a relaxed feel. - Use a tripod-based camera to get a clear and stable image.
Conclusion
Creating an interior render is a process that involves various technical aspects related to design and lighting. Interior renderings are usually made to showcase architectural designs or walk-throughs, but they can also be used for other purposes. The purpose of interior rendering is to create a virtual walk-through of a space before it is built. Interior renderings can be used for various purposes, such as showing the design of a building or architectural project to clients or investors, providing a 360-degree visualization of architectural design, floor plans, and fixtures, or providing a virtual look and feel of the invention, institutions, and finishes. During the pre-production process, you have to create a mood board and decide on the rendering that you want to make. During the production process, you have to determine the location of the room where you want to shoot the image and the type of light you want to use. During the post-production process, you must decide the design elements you want to add to the rendering and the light sources you want to use.


Thanks Rubens Vieira Peres!
Amazing job!