
Tutorials
Photorealistic Architectural Rendering - 15 Tips to Follow
Creating renderings that are virtually indistinguishable from a photograph is no small feat in architectural visualization. It's all about nailing the details that make an image not just impressive, but believable. In today's digital age, clients and audiences expect renderings that go beyond the basics. Ones that really sell the vision and feel of a proposed space. So, how do you up your game? It starts with understanding the core principles that make a rendering go from good to great. In this article, we're dishing out 15 practical tips to enhance your renderings with the kind of photorealism that captures attention and holds it. Whether you're new to the scene or a seasoned pro looking to fine-tune your skills, these insights will help you deliver top-notch visuals that truly resonate.
1- Understand Your Tools
When it comes to bringing architectural concepts to life, the first step is getting a solid grip on your software toolbox. Whether it’s the versatility of 3ds Max, the realism of V-Ray, the precision of Corona Renderer, or the open-source power of Blender, each program has its own set of strengths. But here's the kicker: knowing your tools isn't just about understanding what button does what. It's about leveraging their capabilities to the fullest to achieve that next-level realism. It’s the difference between a render that’s just ‘meh’ and one that pops off the screen. So, invest time in tutorials, play around with different features, and really get to know the ins and outs of your chosen software. It's this deep dive that will set your work apart and truly capture the nuances of photorealistic imagery.
Usually, the software manufacturer’s website or YouTube channel is a great place to start. Most of them feature a comprehensive collection of great tutorials, from get-started simple exercises to more advanced, in-depth ones. You will definitely find these resources not only helpful, but indispensable.

2- Master Lighting
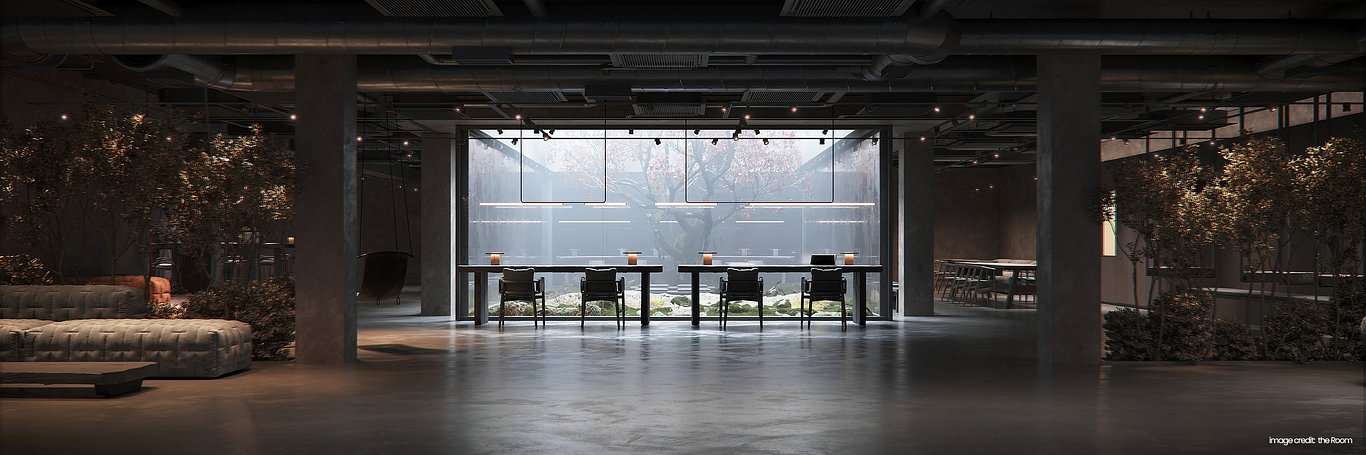
Next up, let's talk about the game-changer in any rendering: lighting. Getting the lighting right is what breathes life into your render. It's all about mimicking the way light works in the real world. Think about it – the soft glow of a morning sun, the harsh shadows under the midday sun, or the warm ambiance of indoor lights. Each lighting condition tells a different story.
The key is observation. Pay attention to how natural light changes with the time of day, how it interacts with objects, and how weather conditions affect its intensity and color. Don’t forget about artificial light sources too. They play a huge role in setting the mood and highlighting key aspects of your design.
But here's the deal: mastering lighting isn’t just about getting the brightness right. It's about understanding shadows, reflections, and how light can emphasize textures and materials. A well-lit scene can make textures pop and give depth to spaces, making your renderings not only realistic but also emotionally resonant.
Experiment with different lighting setups in your software, and always compare your renderings with real-life scenarios. This hands-on practice, combined with keen observation, will sharpen your skills in crafting lifelike and compelling architectural visuals.
If you want to dive a little deeper, make sure to check out this article featuring 11 pro tips on how you can use lighting in renderings to boost photorealism.
3- Use High-Quality Textures
Moving on to textures – they're the unsung heroes of photorealism. The trick is to go for high-resolution textures that don't just look good, but also feel real. It's like giving your audience the ability to almost 'touch' your render with their eyes. Whether it's the roughness of brick walls, the grain on wood, or the gloss on marble, these textures add depth and authenticity to your work.
But here's where many stumble: it's not just about slapping on a high-res texture. It's about correct mapping and understanding how these textures interact with light. Are the reflections on point? Do the bumps look natural? Even the smallest imperfections, like a crack in the wall or the unevenness of a tile, can make a huge difference. These are the details that can transform a flat, lifeless surface into something you can almost feel.
With that in mind, one of my favorite tools nowadays is Chaos Vantage. With Vantage you can add displacement to any surface and see the result in real time. That lets you iterate over and over again, taking the guesswork out of the equation and allowing you to use your talent to polish your renderings even further.
So, don’t skimp on this step. Invest in quality textures, and take the time to adjust them to fit just right in your scene. Experiment with different settings to see how they react under various lighting conditions. Remember, in the world of architectural rendering, it’s these finer details that can elevate your work from good to absolutely stunning.
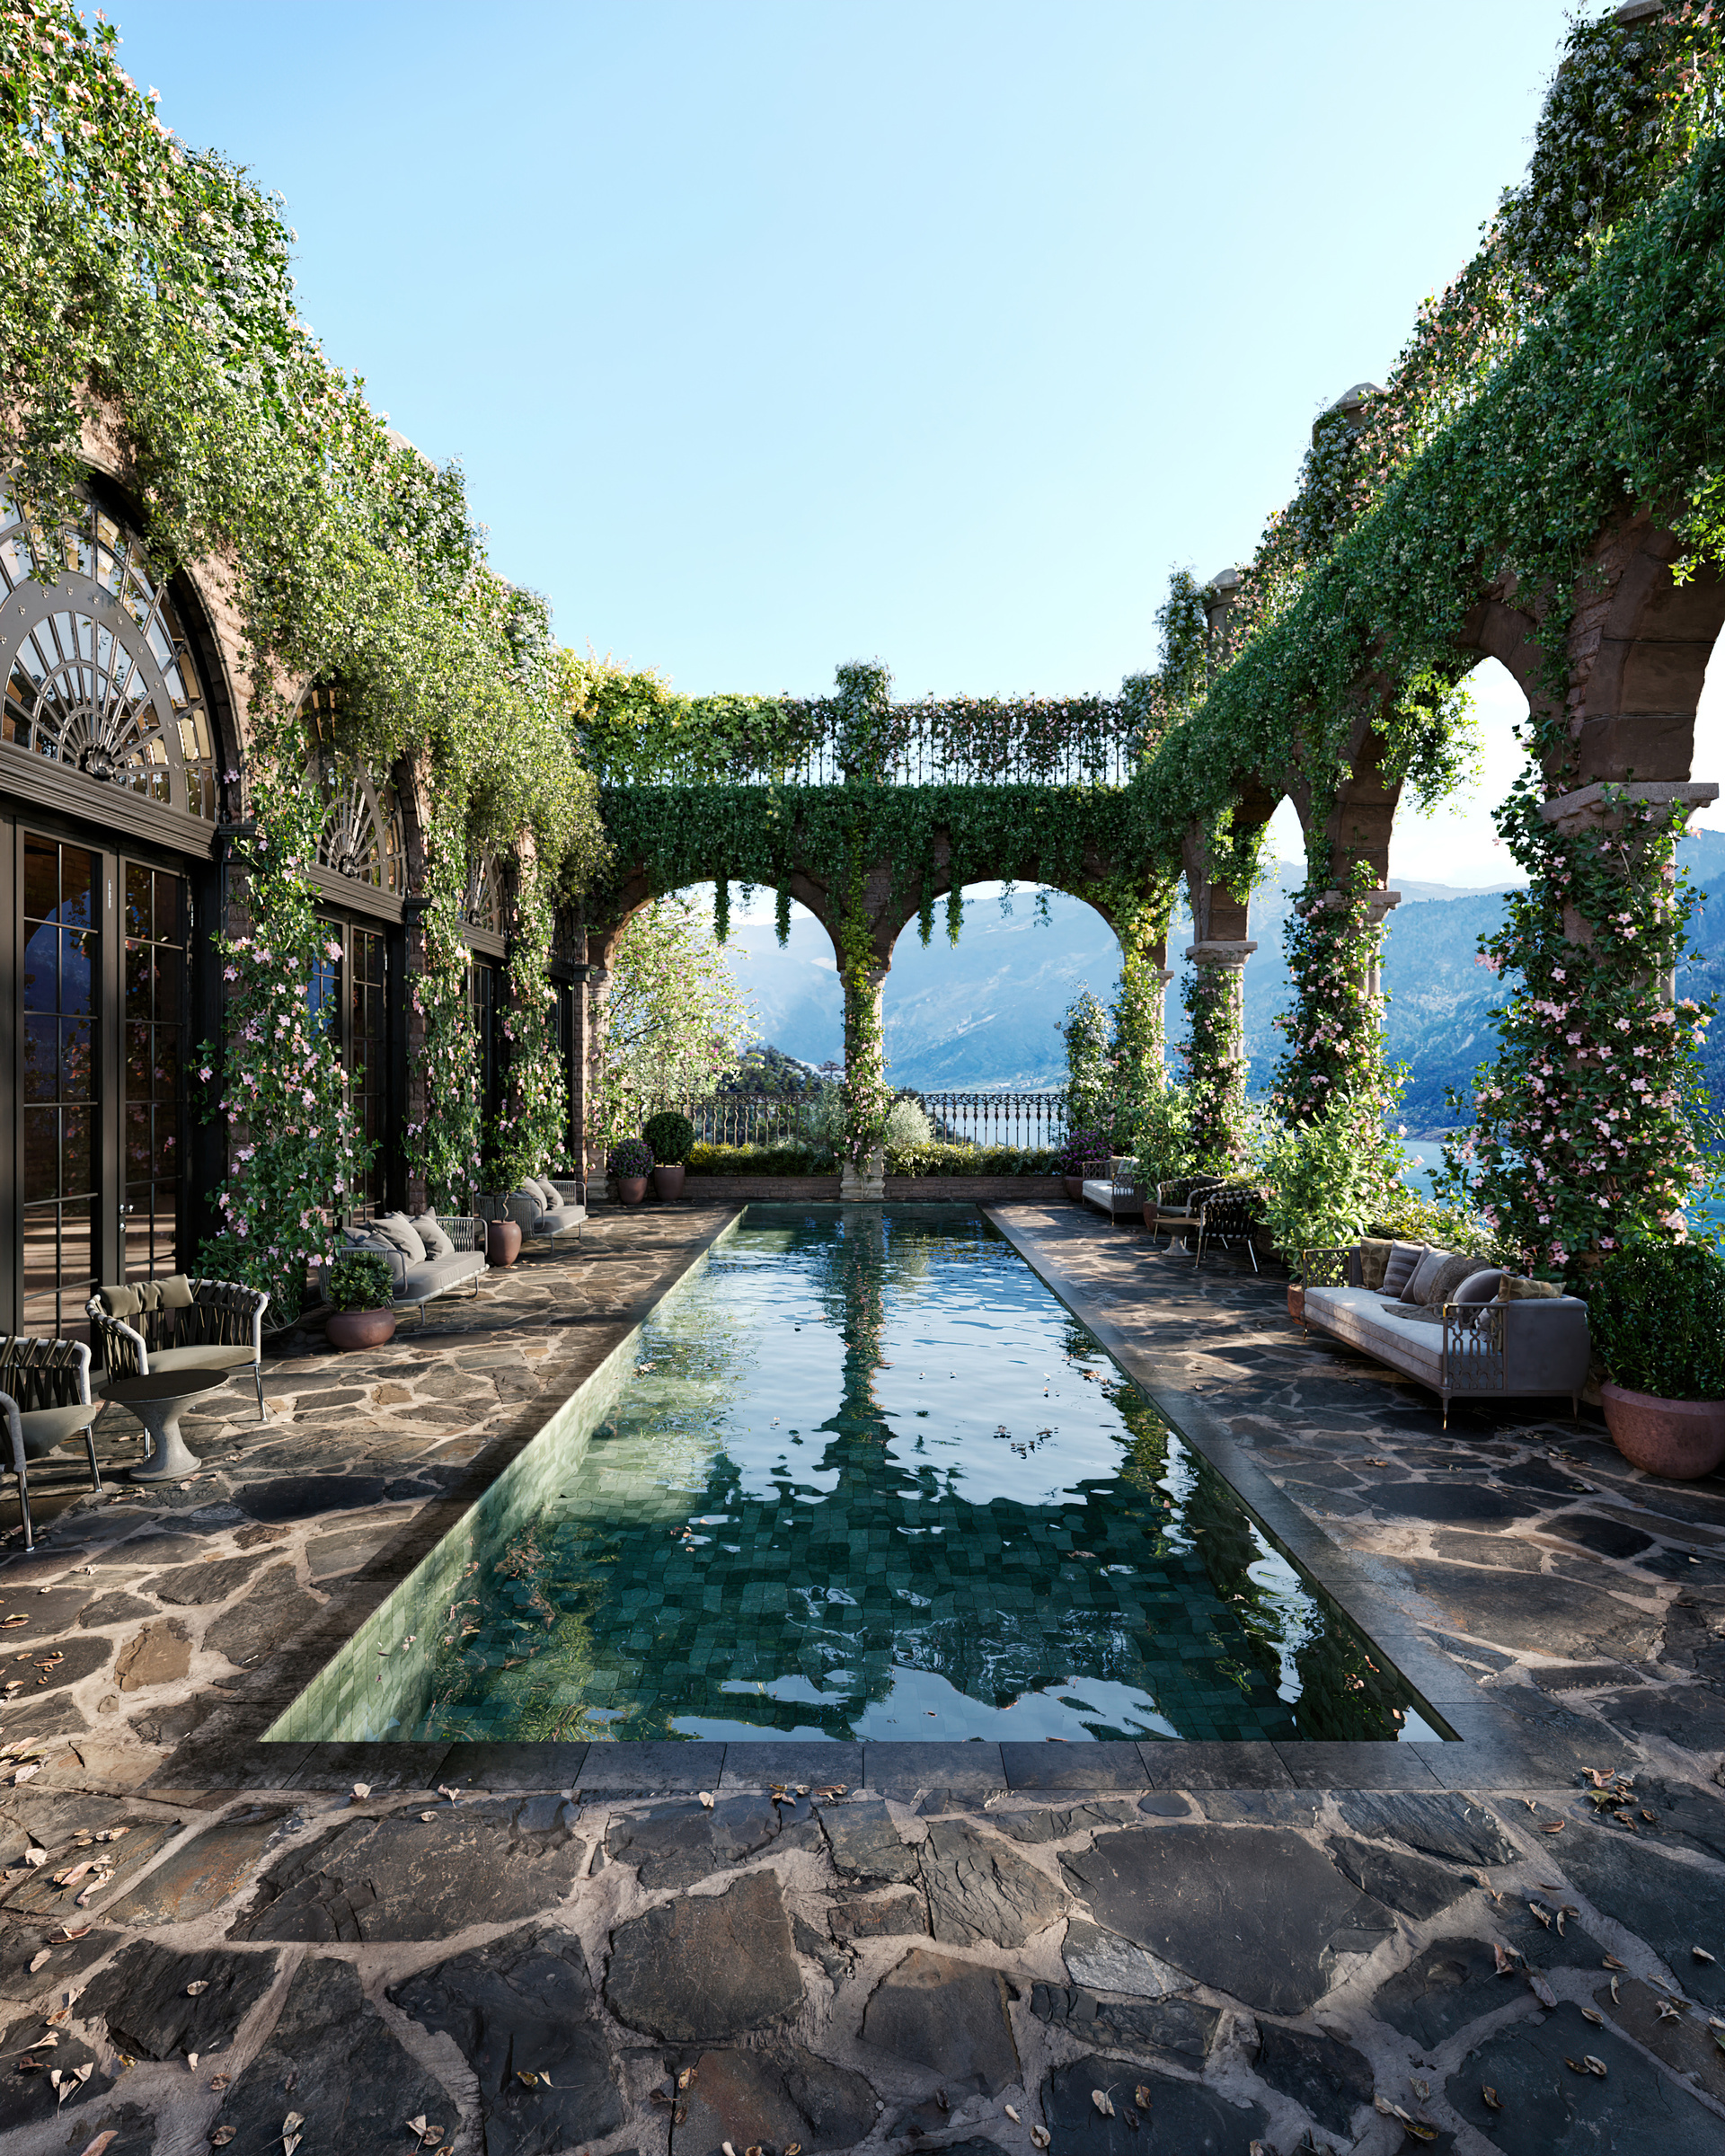
4- Incorporate Realism in Materials
Now let's dive into the world of materials – a critical aspect that can make or break the realism of your render. Getting materials right is all about understanding and replicating their real-world properties. Reflectivity, transparency, glossiness – these aren't just fancy terms; they are the essence of what makes materials look real.
Think about glass, for instance. It's not just about making it see-through; it's about how it reflects light, casts shadows, and even how it distorts the view through it. Or consider a marble surface – it’s not just about its glossy finish. Using subsurface scattering can replicate how light penetrates the surface and bounces within, giving it that characteristic depth and glow.
But here’s a pro tip: don’t just guess these properties. Study real materials, observe how they behave under different lighting conditions, and try to replicate those characteristics in your renderings. The more accurately you can portray these properties, the more your materials will come alive in your scenes.
The V-Ray Material for example, comes with a list of presets for you to start your own materials that is a lifesaver. From various types of metal to glass, milk or water, these presets are a great starting point. This is where experimentation plays a huge role. Tweak settings, compare with real-life examples, and don’t be afraid to spend time fine-tuning. The payoff is a rendering that not only looks realistic but feels tangible – and that's what sets apart a good rendering from a great one.
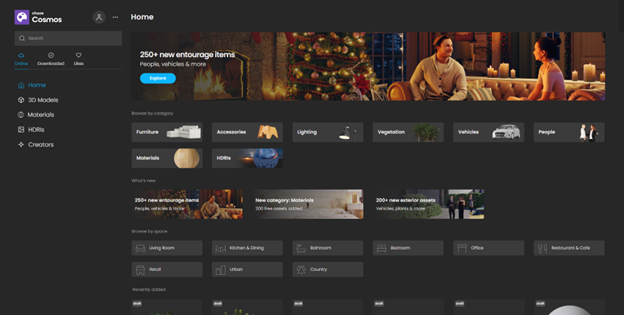
Of course, sometimes we just need something real quick so we can meet a tight deadline. That doesn’t mean you need to give up on quality, though: besides a renderer’s built-in material presets, you can also use a variety of asset websites and libraries with literally thousands of materials, maps, models and more, all render-ready and high-quality. Online resources such as Poliigon, 3DSky.org, Design Connected, or built-in libraries such as Chaos Cosmos, allow you to choose the material/asset you need and apply it to your scene. It doesn’t get any easier than that, and you can continue tweaking any of these materials to your liking. And don’t forget: everything has fresnel!
5- Add Environmental Context
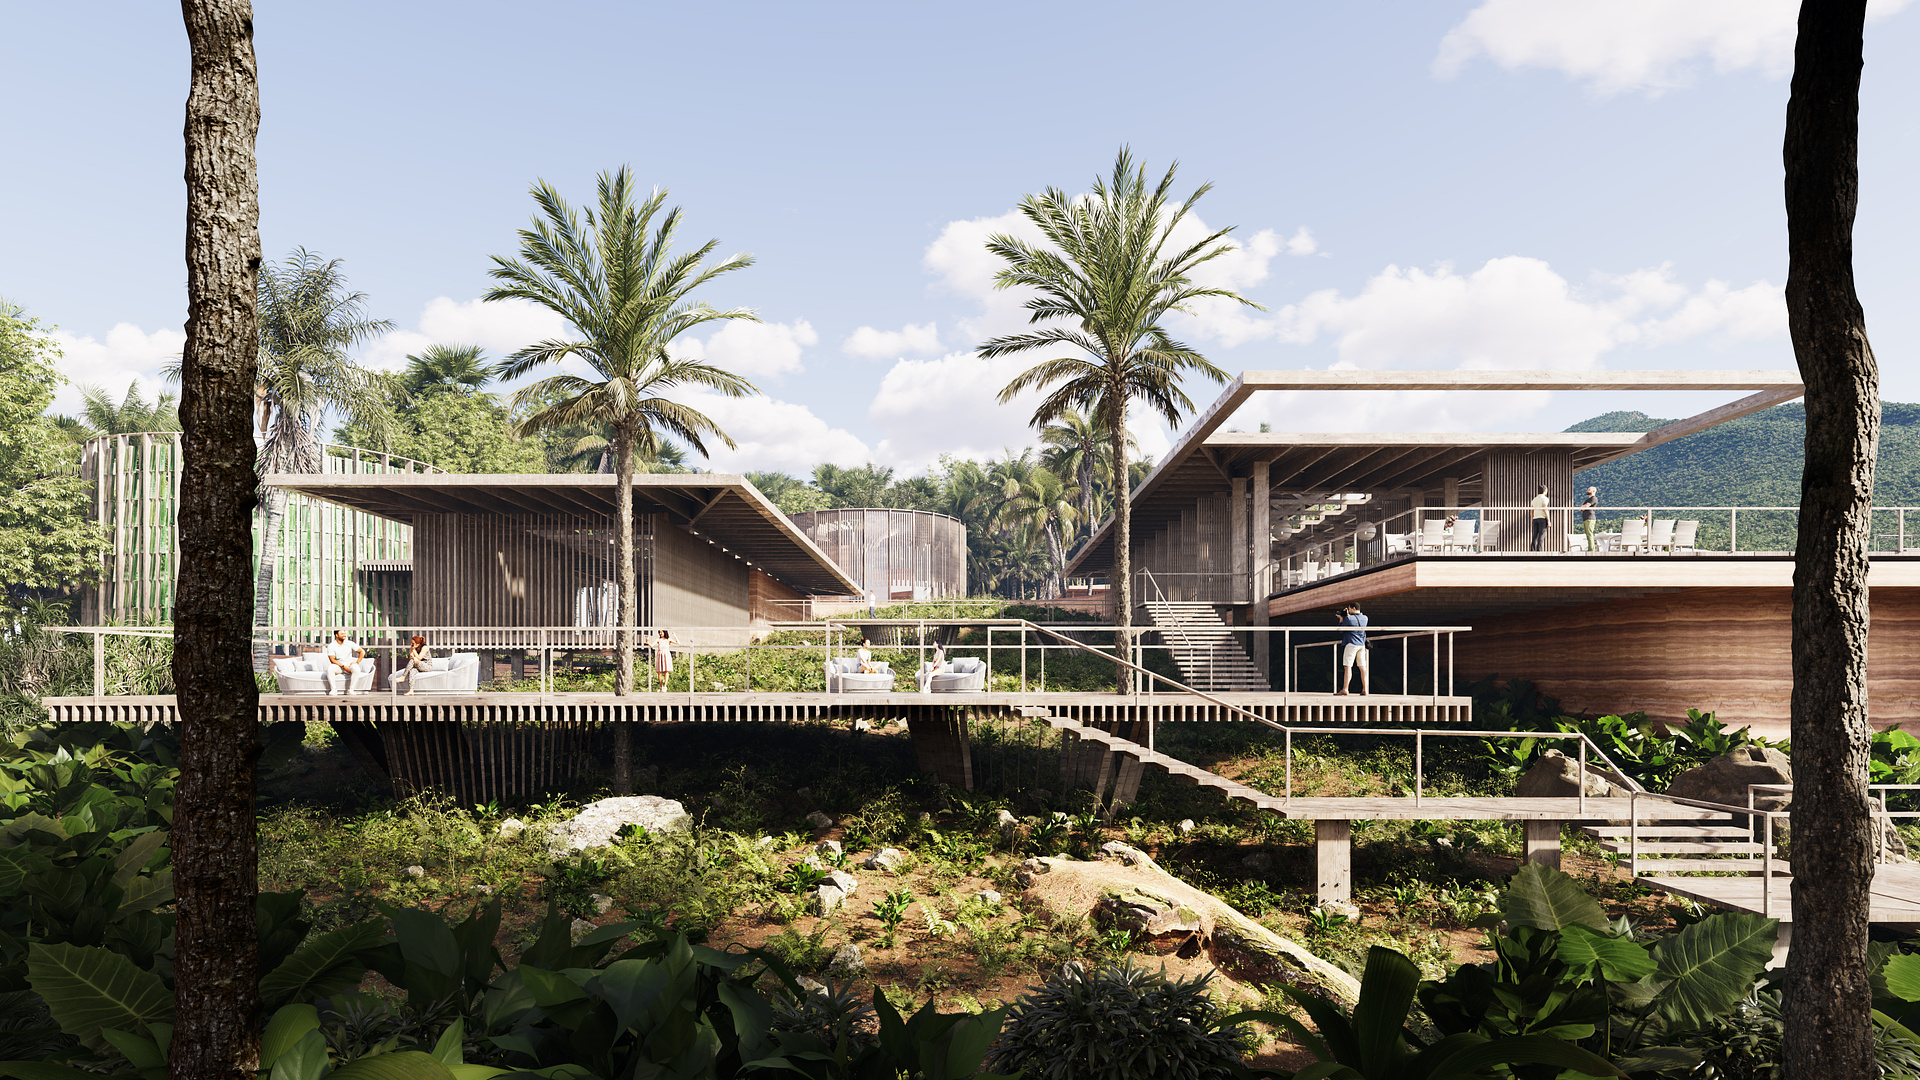
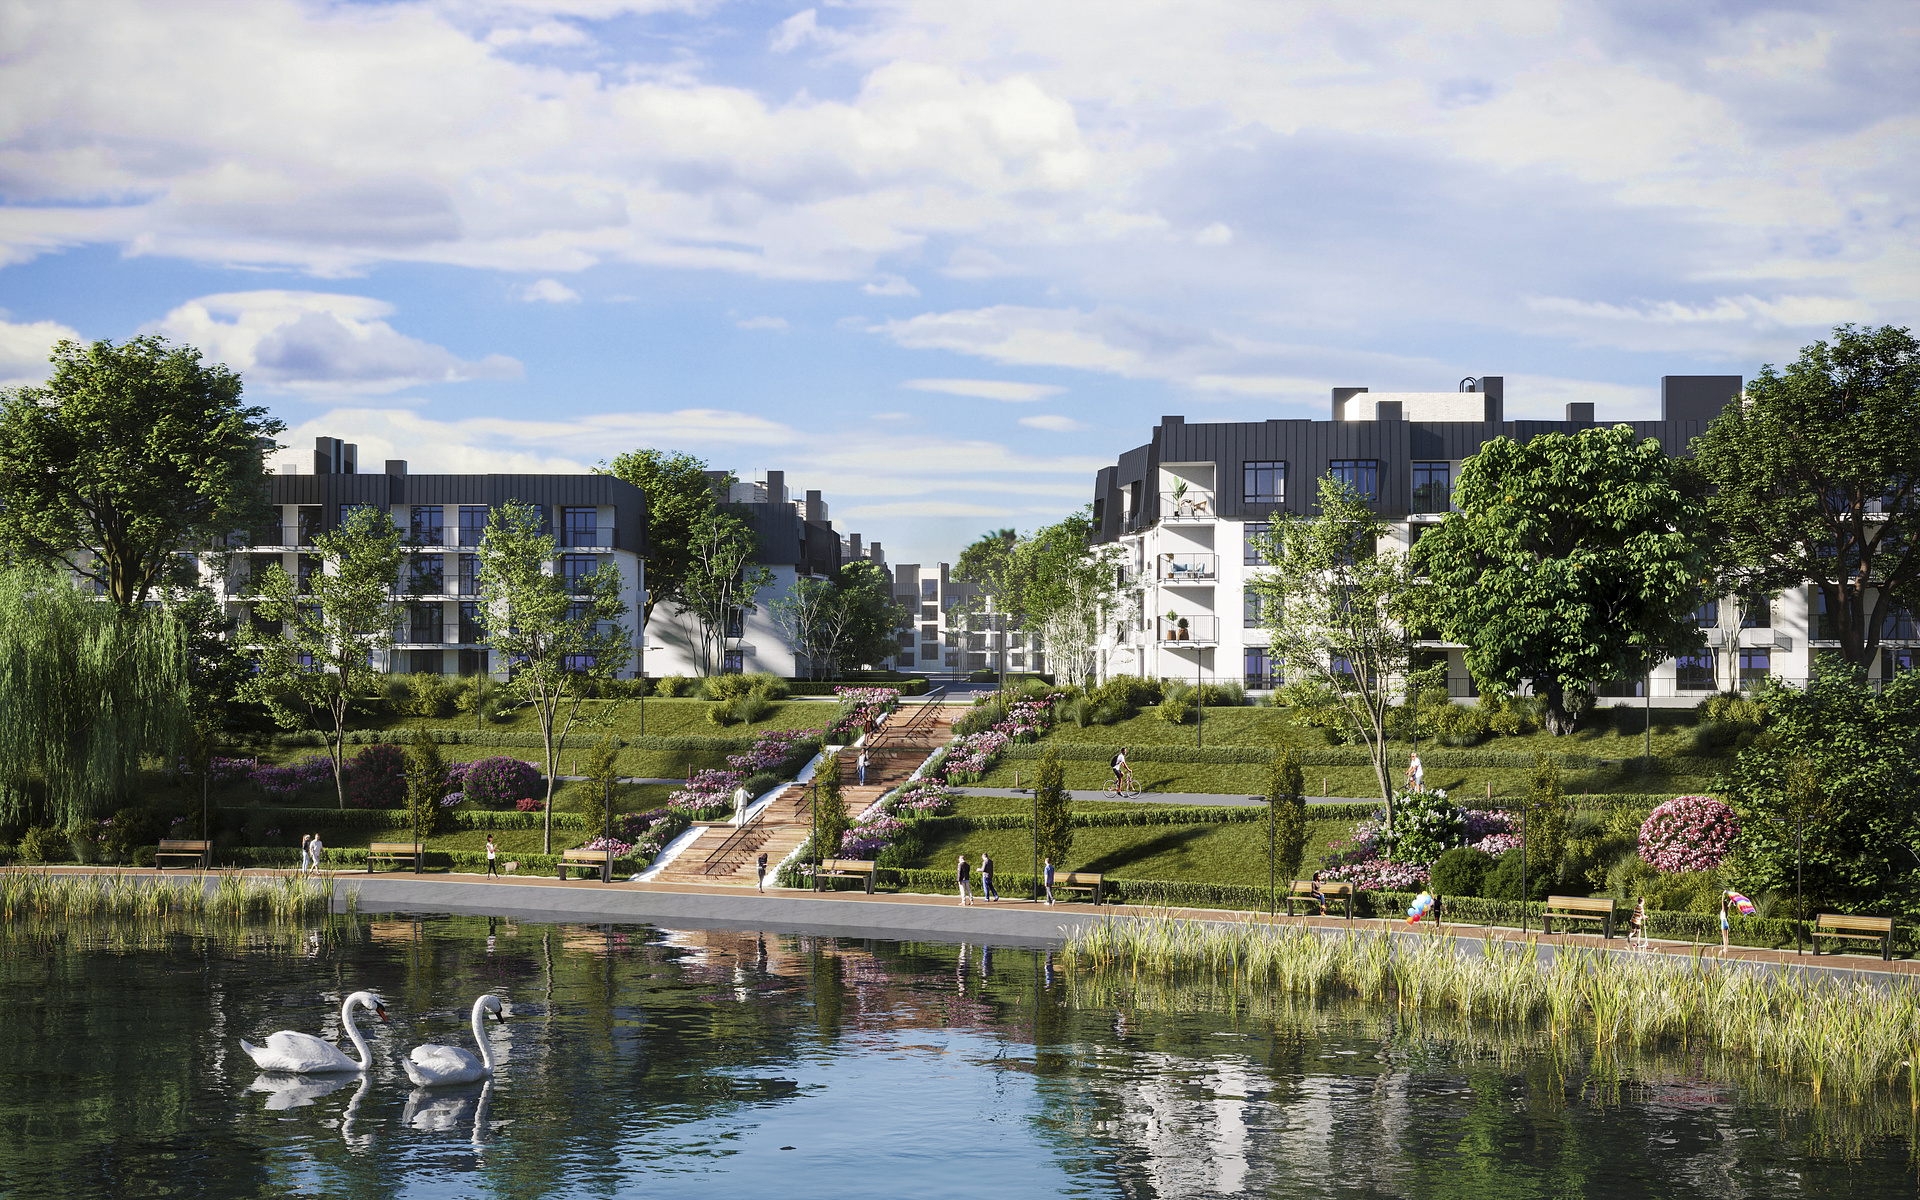
As we move to tip number five, let’s talk about environmental context – a critical factor in creating renderings that tell a story. Placing your architectural model in a vacuum is a missed opportunity. The environment surrounding your building can dramatically enhance the realism and appeal of your render.
Including elements like vegetation, people, and vehicles does more than just fill space; it provides context and scale. These elements help the viewer understand how the building interacts with its surroundings. Trees and plants, for example, can show how a building blends with nature, while people and vehicles give a sense of scale and liveliness. They make the scene relatable and real.
Once again, you can rely on your favorite library for high-quality models of people, vehicles, vegetation and more. But remember, it's not just about adding these elements randomly. Consider the location of your building. Is it in a bustling city or a tranquil suburb? The environment should reflect the building’s setting. Think about the time of day, weather conditions, and how these factors influence the mood and lighting of your render.
This step is where your artistic eye comes into play. It’s about creating a scene that resonates, that tells a story. And when done right, it turns your architectural render into a snapshot of a living, breathing space that viewers can connect with.
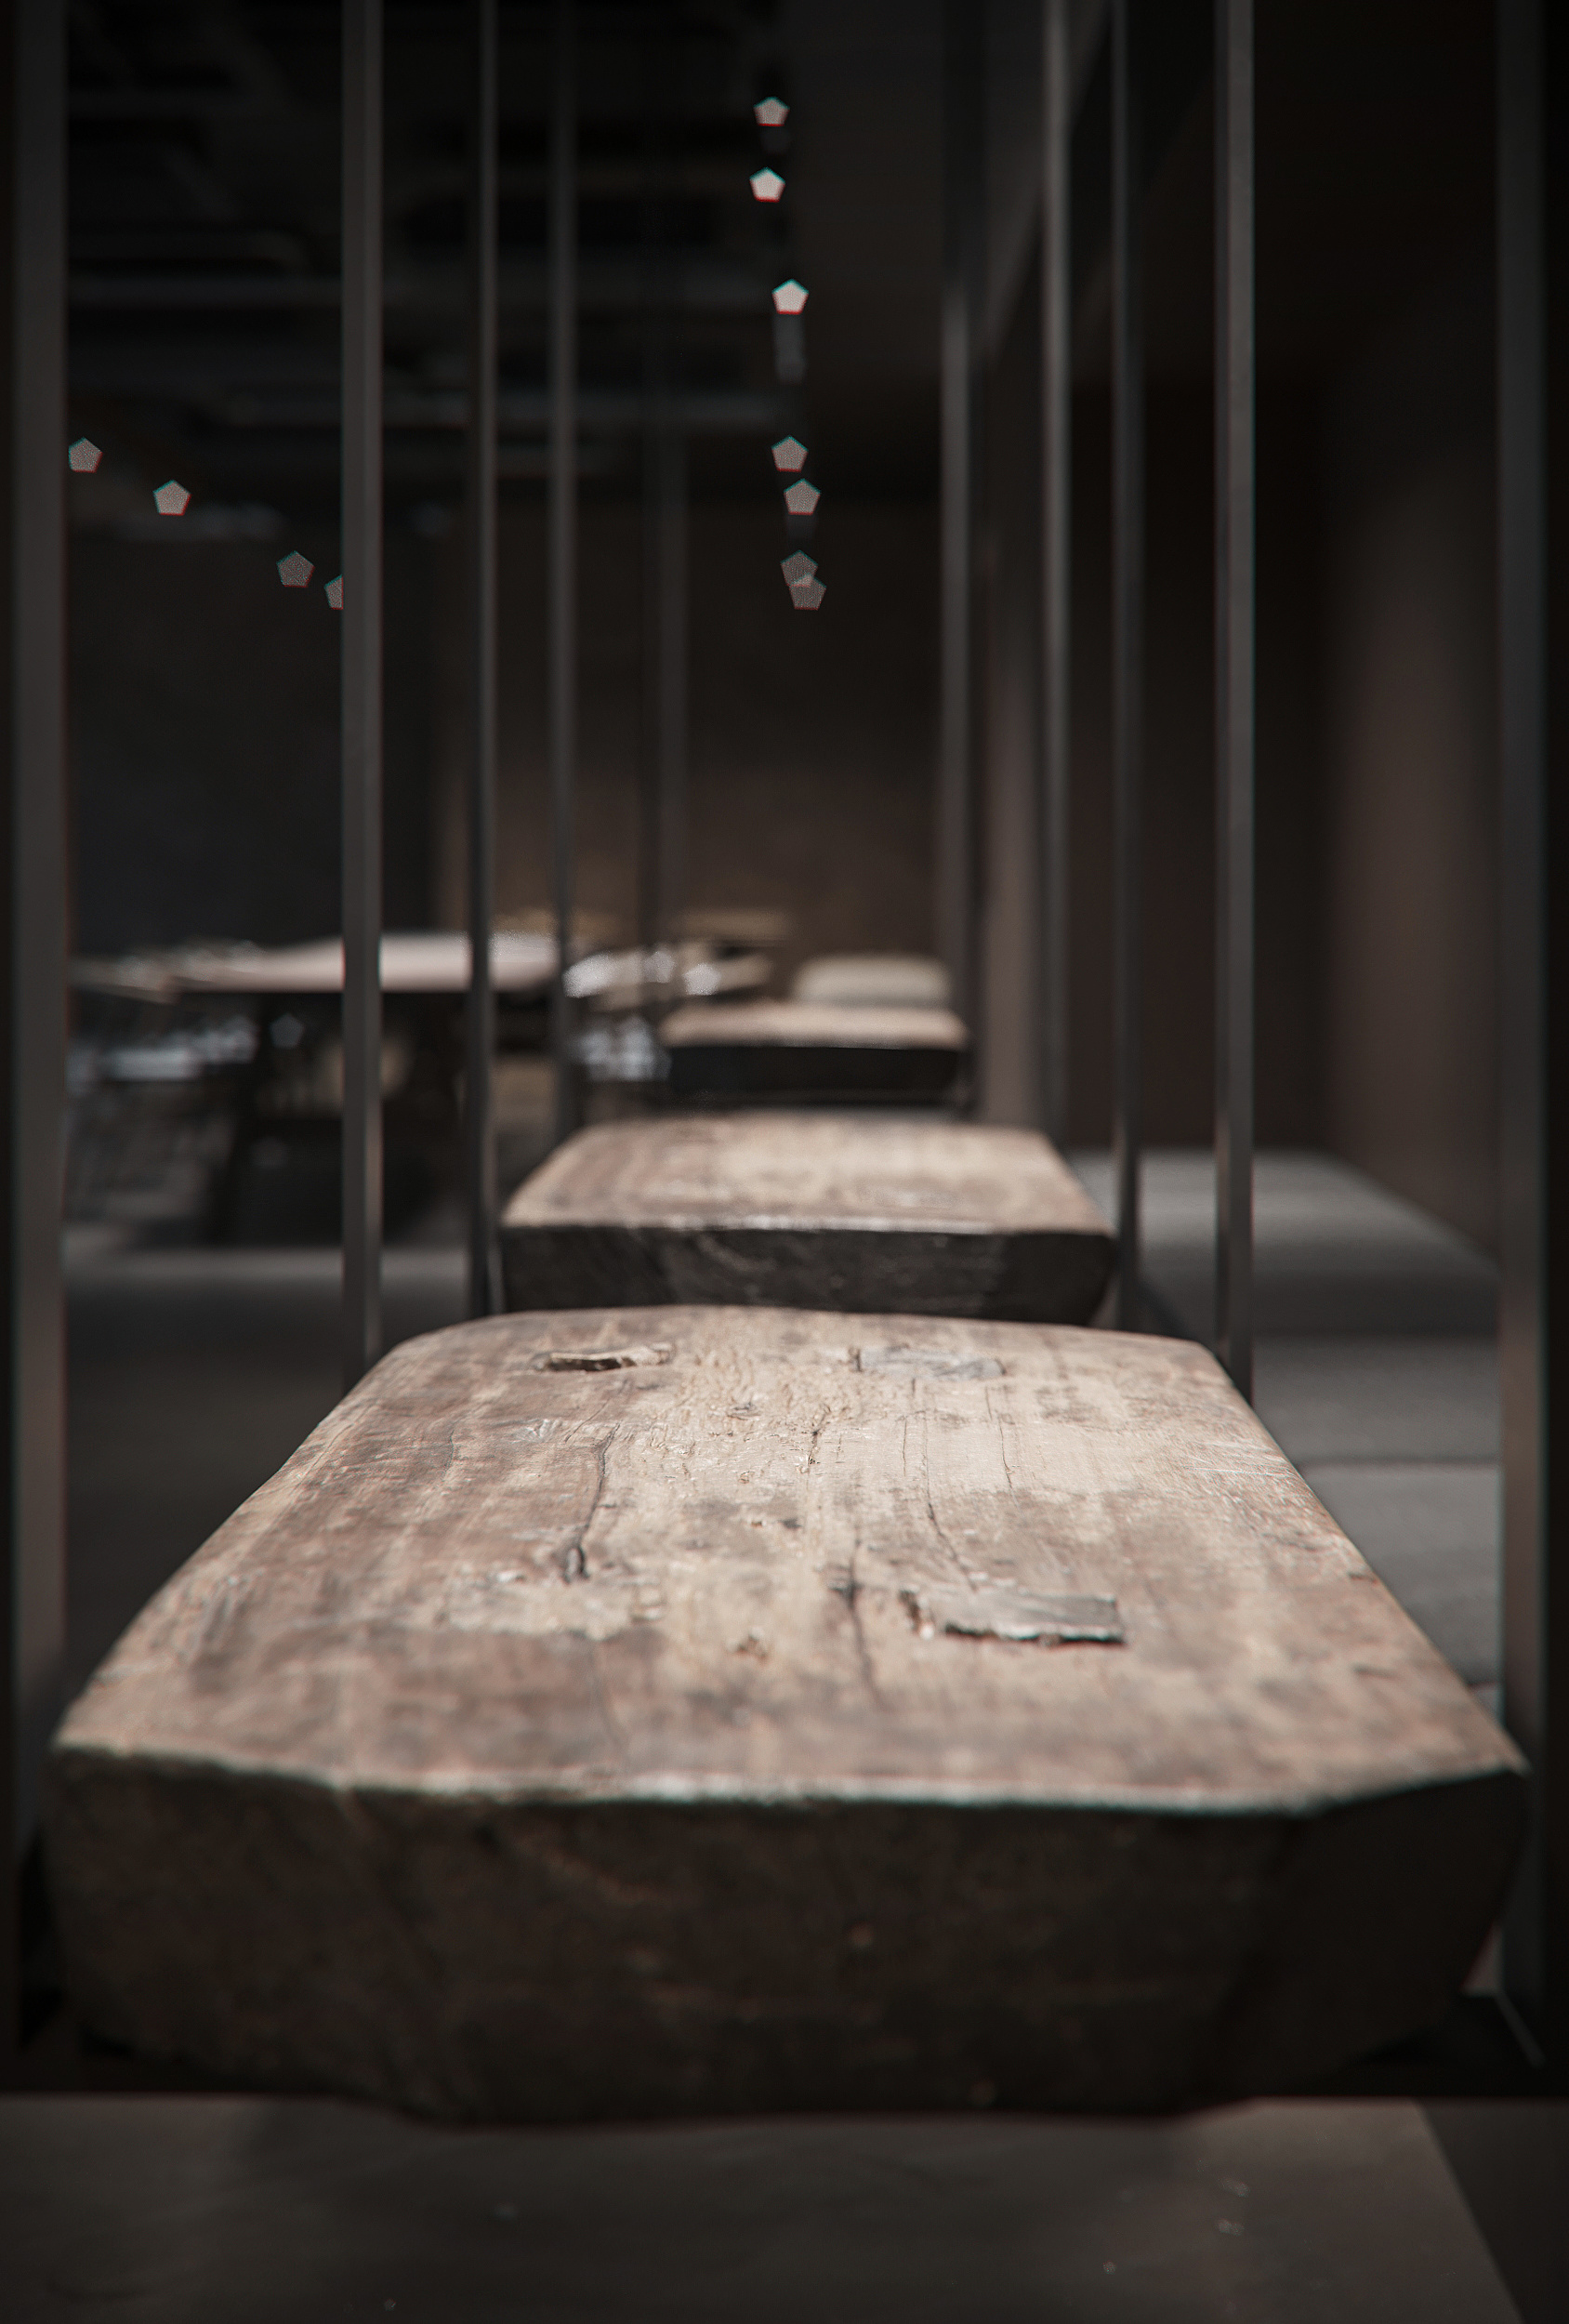
6- Focus on Detailing
Tip number six is all about the devil in the details. In the world of architectural rendering, it's the little things that can elevate your work from good to truly exceptional. Small architectural elements like moldings, trimmings, and bevels might seem insignificant on their own, but they play a crucial role in achieving photorealism.
These details add layers of depth and character to your renderings. They break up uniform surfaces, create interesting shadows and highlights, and add a sense of scale and precision. A well-placed molding can suggest a certain architectural style; a carefully modeled bevel can make an edge catch the light just right. You’d be amazed to see how far a simple chamfered, round corner can take your rendering.
It’s these nuances that make a building look real and lived-in, rather than just a 3D model. Paying attention to these aspects demonstrates a deep understanding of architecture and an eye for realism. It shows that you’re not just creating a structure, but a space with history, function, and beauty. Observe the world around you carefully and you will see plenty of amazing details you can add to your renderings that will take their realism to the next level.
So, don’t rush through the detailing phase. Take the time to add these elements, even if they seem small. Your efforts will pay off when your renderings resonate with a level of realism that truly captures the viewer’s eye and imagination.
7- Consider the Human Touch
As we progress to tip number seven, let's explore the 'human touch' in architectural rendering. This is where we move beyond the structure itself and start breathing life into the space. Adding human elements like open books, a coffee mug, or even a casually draped jacket can transform a sterile 3D model into a space that feels lived in and real.
These small touches tell a story. They suggest that space isn’t just an architectural concept; it's a place where people live, work, and interact. A strategically placed newspaper, a pair of glasses on a table, or a laptop left open can create a scene that feels authentic and relatable. It helps the viewer to imagine themselves or others occupying and using the space, which is a powerful tool in architectural visualization.
However, it's important to strike a balance. Overcrowding a scene with too many personal items can make it feel cluttered and detract from the architectural elements. The goal is to enhance the space, not overshadow it. Thoughtfully choose items that complement the overall design and atmosphere of the rendering so your clients can see themselves using that space as their own.
Remember, the essence of photorealism isn’t just about replicating the physical world; it's about capturing the essence of life within that space. So, infuse your renderings with these small but impactful human touches, and watch as your spaces come alive with stories and character.
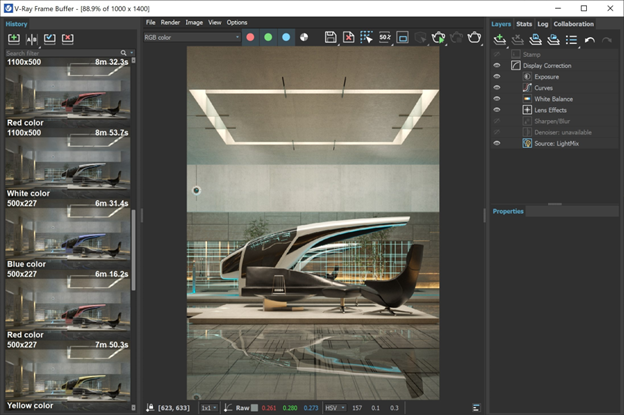
8- Post-Processing
Tip number eight focuses on the final, yet pivotal stage of architectural rendering: post-processing. This is where you polish your render to perfection. Post-processing techniques are crucial in fine-tuning your image to achieve that ultimate photorealistic look. Adjusting elements like contrast, brightness, and saturation can dramatically change the mood and feel of your render.
Use advanced post-production tools like Photoshop, Affinity Photo, Da Vinci Resolve or even those in the V-Ray Frame Buffer to color correct your rendering, adding a plethora of options to your original image. The later option allows you to go so far as compositing different layers right in the VFB, using advanced render elements such as ambient occlusion, reflection passes and more without ever leaving your 3D application. And all those corrections are carried on every time you hit render, so every iteration will benefit from previous adjustments, ensuring consistency between image versions.
Let's not forget the power of adding camera effects such as depth of field to your rendering. This technique, where parts of the image are in sharp focus while others are blurred, can add a layer of realism akin to a photograph taken by a high-quality camera. It draws the viewer’s eye to the focal points you want to emphasize and adds a professional sheen to your work, and is available in basically every renderer. Using the aforementioned V-Ray Frame Buffer, you can even add chromatic aberration to your scene, giving it a new extra flavor of real photography.
However, it's essential to use these techniques judiciously. Overdoing it can result in an image that looks artificial or over-processed. The goal is to enhance the natural qualities of your render, not to overshadow them. Think of post-processing as the seasoning that enhances a dish; the right amount can perfect it, but too much can spoil it.
This stage also allows for creative expression. Play around with different effects to see what best compliments your render. Each project might call for a different approach, so don’t be afraid to experiment. With practice, you'll develop an eye for just the right amount of post-processing to turn a great render into an extraordinary one.
9- Keep It Subtle
Tip number nine is all about the art of subtlety in architectural rendering. This is where restraint becomes your best friend. In striving for photorealism, it’s easy to get carried away with textures, lighting, and effects. However, the magic often lies in the subtle, nuanced touches that collectively create a balanced and believable scene.
When applying textures, remember that less is often more. A subtle bump map can be more effective than an overly detailed one that makes the surface look unrealistic. Similarly, with lighting, the goal is to mimic real-world conditions, not to over-illuminate your scene. Gentle shadows and soft light transitions often create a more authentic look than stark contrasts.
The same principle applies to effects. Whether it’s reflections, refractions, or depth of field, a light hand can make these elements contribute to the realism rather than detract from it. It’s about finding that sweet spot where the effects enhance the visual narrative without becoming the story themselves.
In essence, keep your renderings grounded in reality. Always step back and review your work with a critical eye. Ask yourself: Does this look like something I could see in the real world? If something feels off, it might be an indication to dial back and embrace subtlety. Remember, in the world of photorealistic rendering, sometimes the most powerful statement is made in the quietest voice.
10- Stay Updated with Trends
Moving to tip number ten, let's focus on the importance of staying updated with trends in the ever-evolving field of architectural rendering. Photorealism is not just a skill, but a dynamic art form that constantly adapts to new technologies and techniques. Keeping up with these changes is crucial to stay relevant and competitive.
The world of architectural visualization is always on the move, with new software updates, rendering techniques, and artistic trends emerging regularly. These advancements can offer more efficient workflows, improved realism, and innovative ways to present your architectural designs.
Engage with online communities, follow industry leaders and influencers, attend webinars and conferences, and read up on the latest publications and blogs in the field. Not only does this help you stay informed, but it also opens up opportunities for networking and collaboration. Chaos (the makers of V-Ray, Corona and Vantage) has a collection of initiatives to foster communities and help artists all around the world like CGarchitect, the most important online archviz community in the world, as well as Chaos’ own forums where you can share and gain knowledge about not only V-Ray, but also on various other subjects of interest.
Experiment with new tools and methods as they become available. Sometimes, a new software feature or a different approach to lighting or texturing can significantly enhance your work. Be open to learning and integrating these new ideas into your practice.
Remember, the goal is not just to keep up with the trends but to understand how they can be applied to improve your work. By staying informed and adaptable, you can ensure that your architectural renderings remain at the forefront of photorealism and innovation.
11- Seek Feedback
11- Seek Feedback
Tip number eleven is about the invaluable role of feedback in architectural rendering. Seeking input from colleagues, peers, and potential clients is not just beneficial; it's essential. Fresh eyes can catch subtleties or issues that you, as the creator, might have overlooked. This external perspective can be a goldmine for improvement.
Feedback from colleagues, especially those with experience in rendering or design, can provide technical insights and suggestions for enhancement. They can offer a critical eye on aspects like composition, lighting, and texturing. This kind of professional critique can push your work to new heights, helping you refine your skills and techniques.
On the other hand, input from potential clients or individuals outside the rendering field can offer a different type of valuable feedback. They can tell you how the render feels from a layperson's perspective, which is crucial since these are often the end viewers of your work. Do they find the space inviting? Does the rendering convey the intended atmosphere? Their responses can guide you in making your work not only technically impressive but also emotionally resonant and accessible.
Remember, feedback should be constructive and aimed at growth. Be open to it, consider it carefully, and use it as a tool to enhance your renderings. It's through this collaborative and iterative process that you can achieve a level of realism and sophistication in your work that truly stands out.

12- Study Photography Principles
Tip number twelve encourages the study of photography principles to enhance architectural rendering. The disciplines of photography and rendering are closely linked, with many overlapping techniques. Understanding and applying photography principles such as composition, framing, and perspective can significantly elevate the quality of your renders.
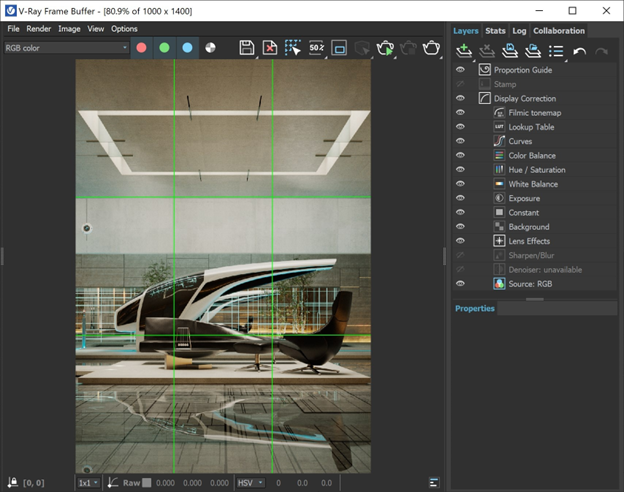
Composition is all about how elements are arranged in your scene. It's the art of guiding the viewer’s eye to where you want it to go. Learning about the rule of thirds, leading lines, or the use of symmetry can help create more dynamic and interesting renders. You can leverage third party tools such as this script or the V-Ray Physical Camera to add composition lines to your viewport to help you compose your scene, or even use the special V-Ray Frame Buffer layer to add proportion guides to any image. In fact, you can choose to use the Golden Ratio, Diagonals, a Center Cross, the popular Rule of Thirds or create your own grid, making your life much easier.
Framing is another key element. Just like in photography, how you frame your render can tell different stories. It’s about what you include in the shot and what you leave out. A well-framed render can focus attention on the key aspects of your design and convey the intended message more effectively.
Perspective is crucial in architectural rendering. It’s not just about technical accuracy; it’s about how perspective can affect the mood and feel of a space. For instance, a low angle shot can make a building look more imposing, while a high angle might make it appear nestled within its environment.
Understanding these photography principles can help you create renders that are not just visually pleasing but also emotionally engaging. Study great photographs and see how these principles are applied. Experiment with them in your renderings to see how they change the narrative and impact of your work. By thinking like a photographer, you can bring a new level of sophistication to your architectural visualizations.
13- Optimize Your Workflow
Tip number thirteen is about optimizing your workflow in architectural rendering. Efficiency is key in any professional setting, and the world of rendering is no exception. Developing a workflow that balances quality with time management is crucial for meeting deadlines without compromising the standard of your work.
Start by organizing your process. Break down your rendering workflow into stages — modeling, texturing, lighting, rendering, and post-processing. Identify areas where you spend the most time and assess if there are more efficient methods or tools that can be used.
Automation can be a game-changer. Look for repetitive tasks that can be automated using scripts or presets (like those in the V-Ray Material). This can save a significant amount of time and allow you to focus on more creative aspects of your work.
Create templates for common project types. Having a set of templates for different scenarios can drastically reduce setup time. These could include lighting setups, commonly used materials, and environmental elements.
Keep your files and assets well-organized. A clear file structure makes it easier to find what you need quickly and reduces the risk of losing important work. This also makes it easier to collaborate with others, as they can understand and navigate your project files more easily. At that, the Chaos Cosmos library browser is simply unbeatable: all assets are carefully selected and organized, with an intelligent search system that makes finding the right asset a breeze. And it automatically recognizes your 3D platform and renderer, converting any models to VRayProxy before placing it in the scene, so you can rest assured that it’s already optimized and ready to render.
Invest time in learning and mastering shortcuts in your software. This can significantly speed up your workflow, as it reduces the time spent navigating through menus.
You can also use third-party software to organize your library. I have extensively used Design Connected’s Connecter to organize my personal library, but you can also use other solutions like:
Each tool has its own qualities and prices, so take your time to choose the best one for your needs.
Finally, regularly review and refine your workflow. As new tools and techniques become available, be open to incorporating them if they enhance your efficiency. Remember, a well-optimized workflow not only saves time but also reduces stress and enhances creativity.
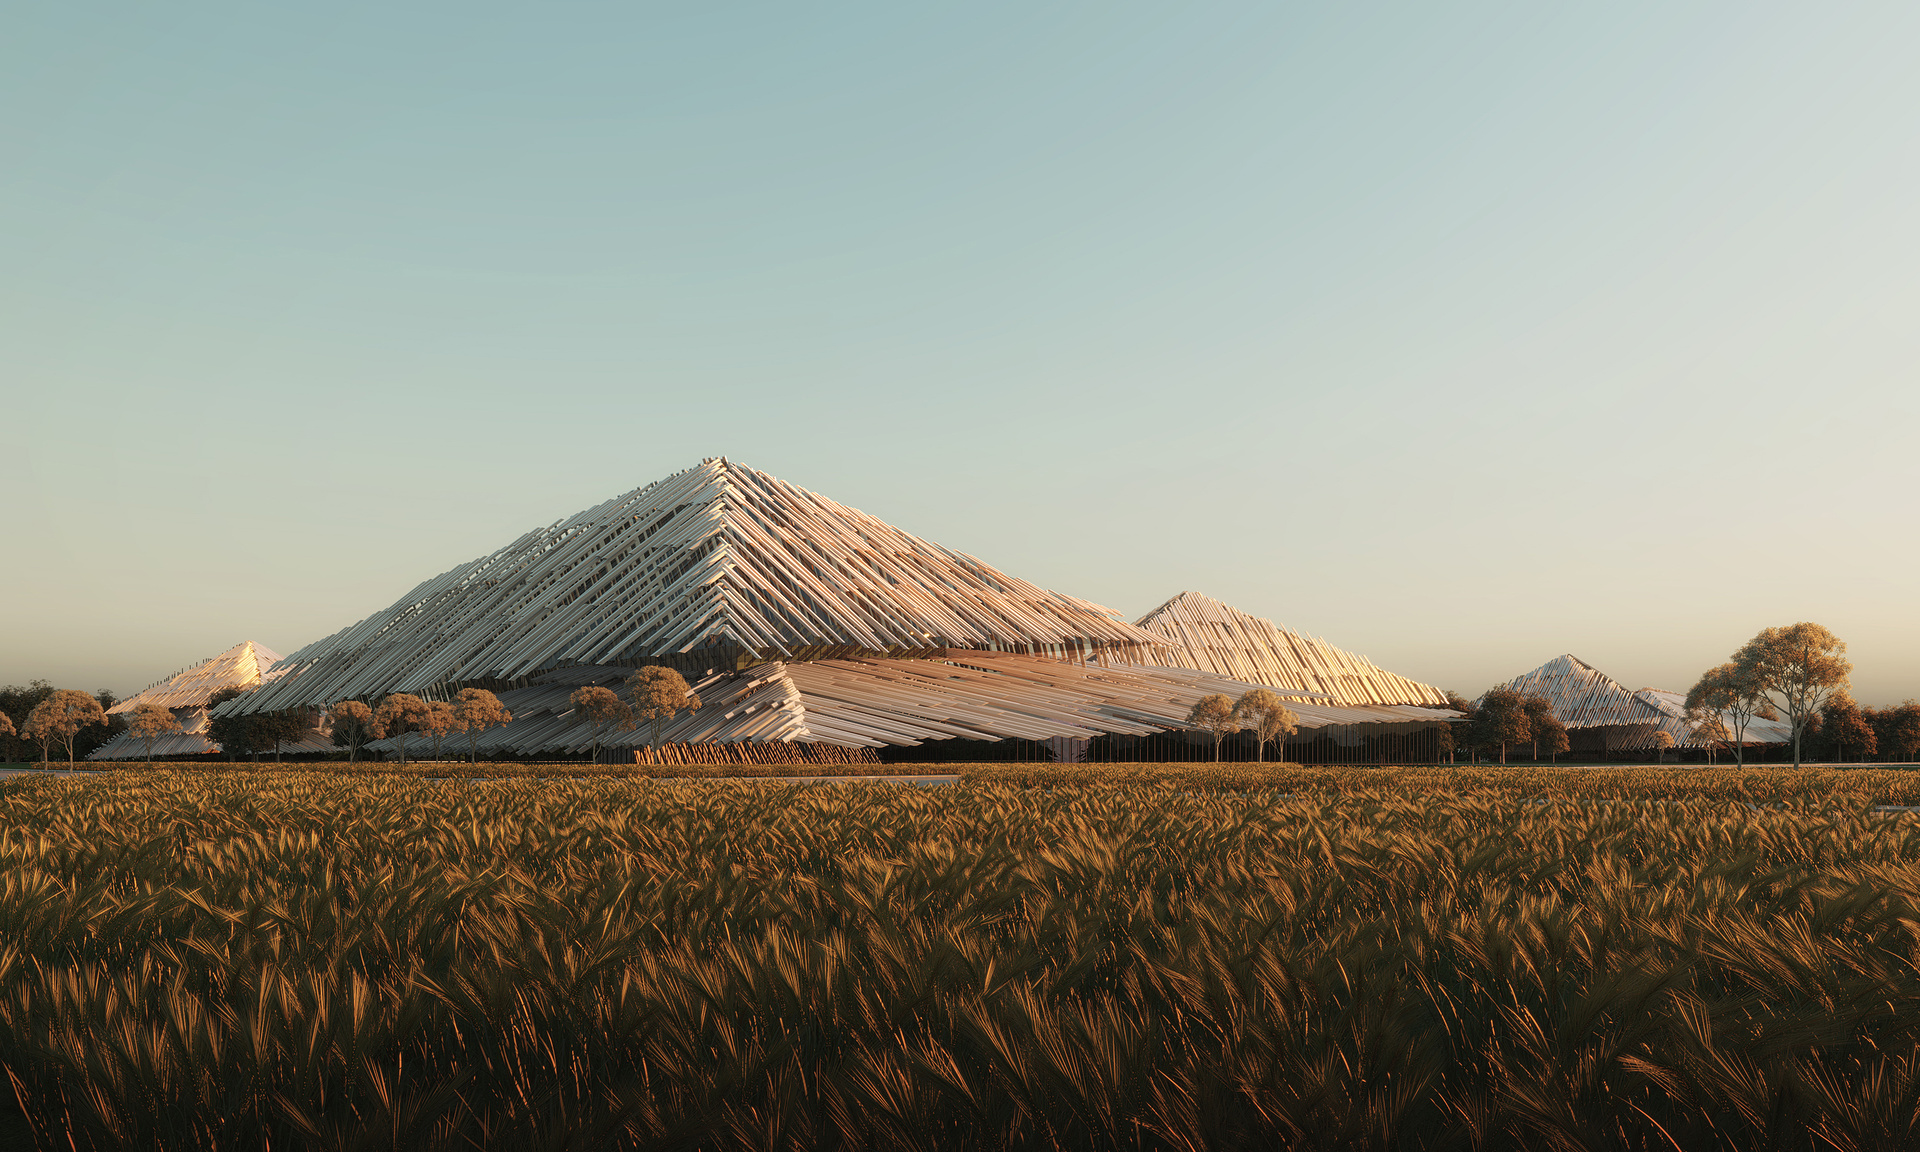
14- Learn from Reality
One of the best ways to achieve photorealism is to draw inspiration directly from the world around you. Observing and analyzing real buildings and environments can provide invaluable insights into how materials and light interact in the real world.
Pay attention to how different materials behave under various lighting conditions. Notice how sunlight affects the appearance of glass during different times of the day, or how artificial lighting highlights the textures of stone or wood. These observations can inform how you simulate materials and lighting in your renders, and you can also rely on Chaos Scans materials’ unmatched realism to make sure the materials in your scene are as real as it gets. If you’re not familiar with Chaos Scans, they are a collection of over 2,500 materials that would take you hours to create by hand that have already been scanned to perfection, meaning they will behave just like the real thing.
Also, study the architectural details of real buildings. Look at how shadows are cast by different architectural elements, how different textures work together, and how color palettes are used. This can help you understand the subtleties that make a structure feel authentic.
Take photographs as references. Capturing images of buildings, textures, and environments can serve as a direct inspiration for your work. Use these photos to replicate textures, lighting, and composition in your renders.
Remember, the goal of photorealistic rendering is not just to create an image that looks real, but one that feels real. By learning from and mimicking reality, you can infuse your architectural visualizations with a level of authenticity that resonates with viewers.

15- Continuous Learning
Tip number fifteen, and perhaps the most important, is the principle of continuous learning in the journey towards mastering photorealism in architectural rendering. The field is one that’s constantly evolving, with new techniques, tools, and artistic approaches emerging regularly. Embracing a mindset of ongoing learning and experimentation is crucial for personal and professional growth.
Always be curious and willing to experiment. Whether it's trying out a new rendering software, experimenting with different lighting techniques, or exploring unconventional texturing methods, each new attempt is an opportunity to learn and grow. Even mistakes can be incredibly valuable learning experiences.
Keep up with industry developments by reading blogs, watching tutorials, and attending workshops or webinars. The insights gained from these resources can inspire new ideas and improve your existing skills.
Networking with other professionals in the field can also be a great learning opportunity. Engage in communities, forums, or social media groups where you can share experiences, ask for advice, and learn from the challenges and successes of others.
Remember, the pursuit of photorealism is not a destination but a journey. It requires patience, practice, and a willingness to continuously adapt and evolve. By committing to lifelong learning and being open to new experiences, you can ensure that your skills remain sharp and your work stays at the forefront of architectural rendering innovation.
You must be logged in to post a comment. Login here.
About this article
Mastering photorealism in architectural visualization is crucial for creating renderings that captivate and convince. This article offers 15 practical tips to elevate your work with details that impress and persuade, essential for both novices and seasoned professionals aiming to deliver visually stunning and believable visuals.
visibility2.03 k
favorite_border4
mode_comment2


Nice article!
Amazing Read!! Loved the in-depth knowlegde.