

Interviews
An Architect's view on Maxwell Render (for Google Sketchup)
I remember reading about the famous Hungarian architect Imre Makovecz telling his students that illustrations of designs are best made after the design has been realized. I assume he meant to say that the process of the actual construction is as much important as the design process for the final architectural quality. To Imre Makovecz the design drawings did not really represent the final result. Frank Gehry tries to say a similar thing when he mentions that scale models should not become objects of desire themselves.
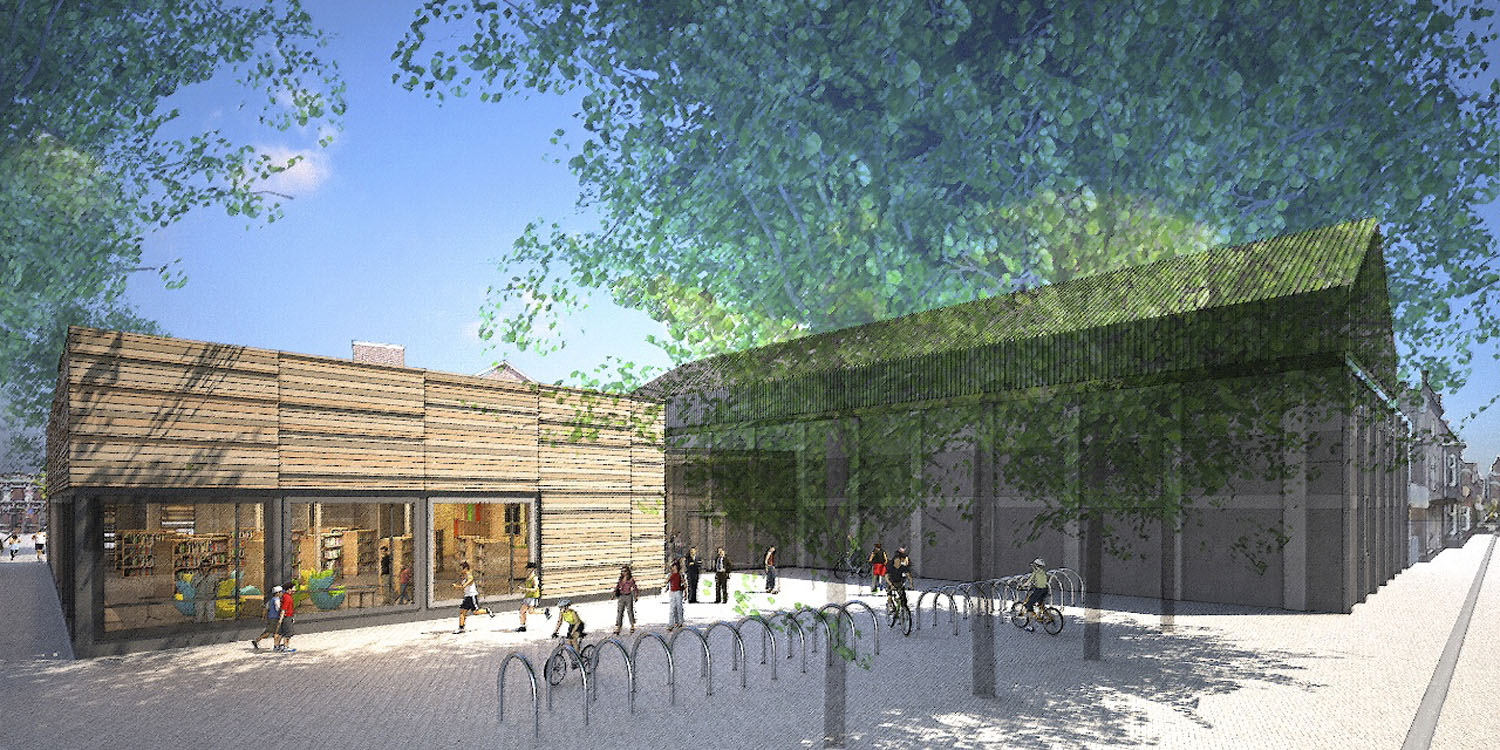

Visualizations, rendered Sketchup model, enhanced with sketchy lines.
Images rendered for only minutes at low sampling levels are still noisy but can be post processed to achieve an attractive sketchy effect. This style in combination with low polygon 3D people is convincing artistically as opposed to photo realism. The typical un-biased Maxwell Render realistic light adds a lot of depth and charm to Sketchup’s line styles. Design by De Architektenkombinatie Bos Hofman
Images of the actual building though before its build would give incredible opportunities to improve the design as opposed to sketches and drawings. Today this kind of prototyping through images has become a reality available to smaller architectural firms as well. Many architects these days use modeling and render techniques to study designs, change materials, construction and so on in all stages of the design process. To think that the drawings and models do not represent the actual building very well is no longer true. Its now possible to see what you get before actual construction. That is of course, if you know how to build, model and render and have the proper tools at your disposal.
Many more or less famous architects still use pen and paper to show their clients what poetic dreams they propose to build. In these days of CAD we find ourselves longing for romantic sketchy drawings to give us a clue about the potential of first ideas and design studies. Students who were successful in their childhood using pen and paper keep using those skills along their professional career. Numerous architects show on their websites they too have these natural talents at their disposal.

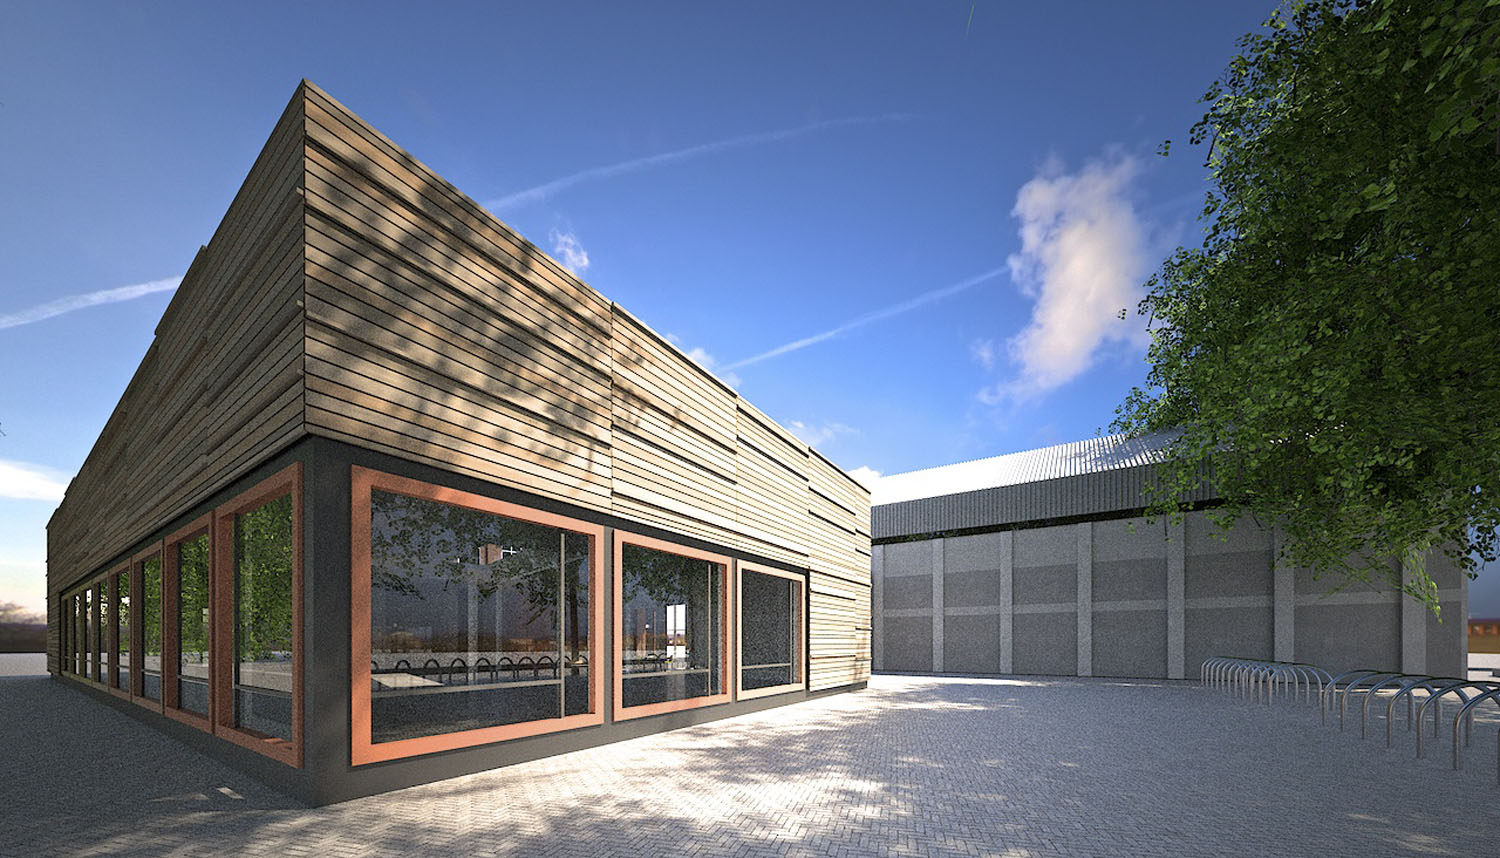
Visualizations, rendered Sketchup model enhanced with sketchy lines. Design by De Architektenkombinatie Bos Hofman
Sketchup when it first arrived on the market more then ten years ago was one of the first applications to exploit the human condition as described above. Sketchup is probably used in almost all architectural offices all over the world these days because of this. But its rendering apart from looking attractively sketchy is rather basic. As a consequence many plugins have become available to render images of Sketchup models more or less photo realistically.
As an architect I have been using Sketchup and Maxwell Render since they were available on the market. I quickly understood that to know an application well you have to use it for a while, do some projects and see how applications hold up to stress and deadlines. User-friendliness is experienced very differently by regular users as opposed to the occasional user. I have changed my opinion several times on applications over time and good use.
When I first started to use Maxwell Render I was attracted to the prospect of being able to render as close to reality as possible. Not as much for presentations but to get feedback on design decisions, on material choices, scale, texture and so on. I had become rather experienced with Sketchup and my models often included a lot of detail. The sketchy output of Sketchup was not exposing the efforts spent on modeling. Rendering had become a necessity. I was looking for a render application that would not constrain me in terms of image quality. I also looked for an application that was backed up by an enthusiastic company with a frontline mentality. Rendering is in constant development and an application should follow up on the most recent techniques.
In the architectural design process the speed and ease of a good digital light simulator opens up a whole new world. Even for the simplest of mass studies. For me a modern render application is a magic light box or like a sunny garden where I shed light to my digital models. An unbiased light simulator will often give you clues about the design that were invisible before. As such it is has become a very important design tool. I discovered how much the ability to digitally study materials and light attributes to the quality of our designs. The right render application can be consequently important. Only few render applications can truly simulate light in a natural manner and have the UI to efficiently control all variables involved.

top: Visualization, post processed (bird and grass in foreground) bottom: Study, rendered Sketchup model Design by De Architektenkombinatie Bos Hofman
Maxwell Render currently has three versions for Sketchup. The free version, the licensed version and the full Maxwell Render Suite that caters to a range of 3D modelers among them 3D Max, Modo, Bonzai 3D and so on. As the free version is fine for many Sketchup users, the licensed upgrade will give better image quality and access to the forum. The Render Suite gives you full access to Studio, the Material Editor and the functionality to render over a network using render nodes.
I use the Maxwell Render Suite and so my review will sort of extend into the Suite as well.
If you like to know all the features of Maxwell Render and the differences between the versions you best go to the Maxwell Render website of NextLimit to get a complete picture. Here is the link http://www.MaxwellRender.com/index.php/maxwell_for_google_sketchup/faq
In this review I will cover some topics that I found of importance for my workflow as an architect. I use Sketchup and the Maxwell Render Suite at least weekly. I do a lot of rendered illustrations for other designers as well. Keep in mind that there is lots more to say about Maxwell Render especially in depth and detail. I would suggest to read the manuals and the very informative Maxwell Render website.
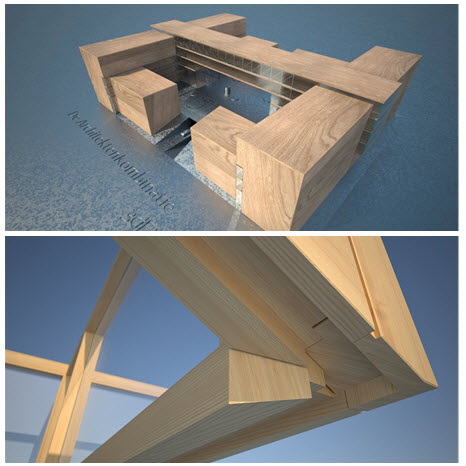
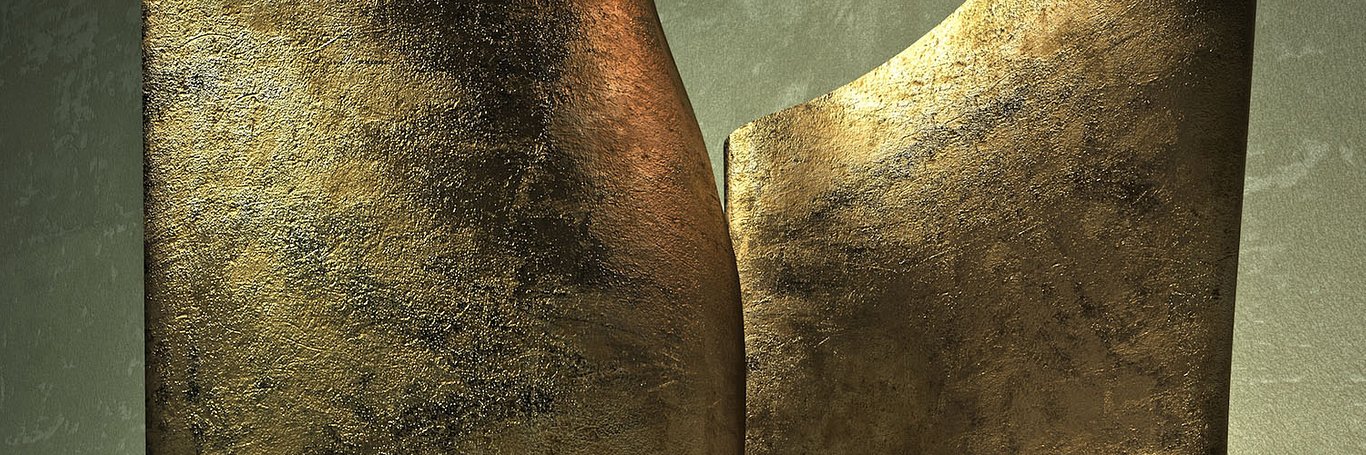
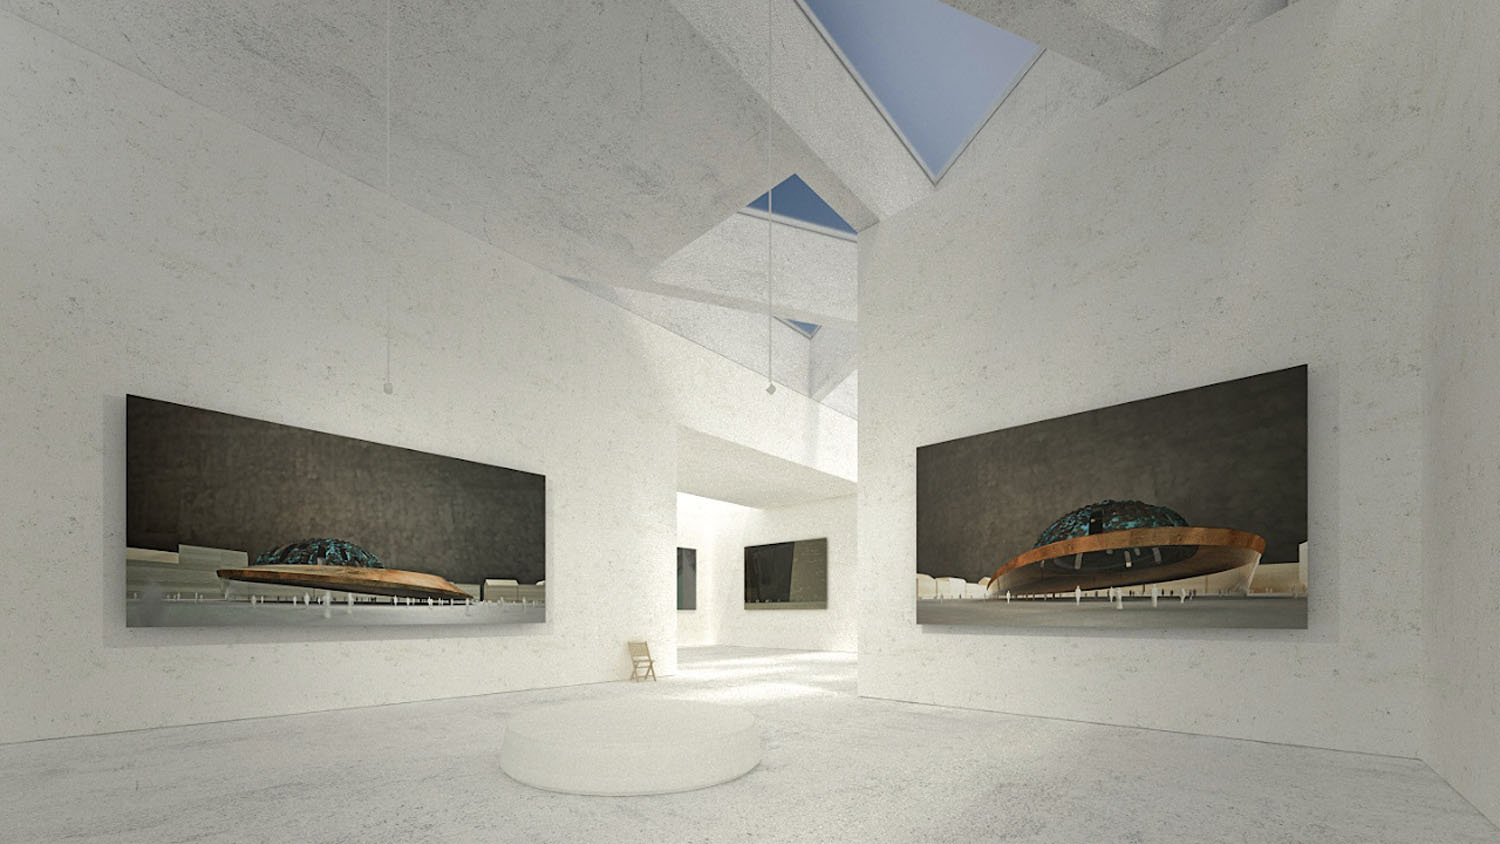
top: Scale model, rendered Sketchup modelbelow: Window frame detail, rendered Sketchup model
Design by De Architektenkombinatie Bos Hofman
Manuals, and tutorials
There are plenty, clearly written and well illustrated and so learning to work with Maxwell render is not going to set you back endlessly searching the web for info.
The full online Maxwell Render documentation can be found at http://support.nextlimit.com/category/maxwell where each feature is covered in-depth, including the manual for Maxwell Render for Google Sketchup.
All you need to know is well documented and found for instance on the excellent video tutorials by Jason Maranto as well. Then there is the forum where each plugin for each modeler is represented. I can not imagine anyone really lost at any topic because of lack of information. Some of the techniques and variables require a bit of study to fully understand. That is to be expected when you want to simulate light in a natural environment.

Study, rendered Sketchup model. Design by De Architektenkombinatie Bos Hofman
UI (user interface)
The latest plugin for Sketchup is written by Jeremy Hill. The plugin is reliable and well conceived. The UI design of a Sketchup plugin is actually a lot more important than you might think. There are quit a few variables to control. The plugin is easily understood with pleasing graphics and decent hierarchy. It wasn’t always like that before but the current plugin is a joy to use. The plugin fits within the UI of Sketchup with two palettes, one with direct access to render, focus, access materials and manuals. And another Scene Manager palette for settings such as render output paths, render time etc.. There are a few handy menu and context linked values that can be set as well. Many settings are set once for a given project or linked to Sketchup scenes so to render a set of images does not require a lot of repeated manual settings. The integration with Sketchup is done well and even a two point perspective is rendered properly as if you have shifted the camera lens accordingly. Very handy for architectural work.
Modeling geometry
Modeling in Sketchup for rendering is a little different from modeling for Sketchup’s own sketchy output. A model that has the potential to be rendered photo realistically must have the necessary details and realistic textures. Models in architecture usually have a lot of glass and lots of materials that are not shiny. Rendering a glossy material like a wine glass is actually not so difficult but the roughness of stucco for instance requires more effort from the user to look realistic.

top: Scale model, rendered Sketchup mode. bottom: Visualization, rendered Sketchup model enhanced with sketchy lines. Design by De Architektenkombinatie Bos Hofman
Architectural glass is one of the typical areas were a light simulator sometimes tries a bit too hard to please you. In most architectural studies we don’t really need all the caustic qualities to be rendered at its best. I usually model a sheet of glass as a 20 mm thick volume but Maxwell Render also gives you the option to render a glass pane as a single surface using a specific material preset called AGS. It renders faster and looks alright in most cases. The way I render my glass volumes is by hiding the sheets from global illumination. Its great that the plugin itself gives you the option to hide geometry or volumes in several ways.
You can also assign proxies (simple volumes) to be replaced by high polygon symbols during the rendering process all within the UI of Sketchup. Further more you can hide a volume on the rendered image and still show its reflection or the other way around. You can for instance model a light emitting box that is completely invisible and only show its presence by its light around it, you can even set its reflection to be invisible. I often use trees and cars to be reflected in glass without having them rendered in the foreground.
While modeling, especially interiors, I have found that the modeled geometry makes a big difference. There are quit a few ways to minimize geometry and avoid unnecessary light getting trapped in between reflecting surfaces. A little experience and knowledge will make you render faster and spend less time modeling as well. Since Maxwell Render is an unbiased render engine simulating real light is actually rather simple to understand. Just imagine the calculations going on tracing rays of light bouncing around in your models like balls in a pinball machine. Once you start rendering Sketchup models its wise to give this more thought.

Light
A complex model under the sun might be quicker to render than a simple model that is lit by indirect light. An example is an interior with indirect lighting will take longer to render than a model of a skyscraper under the physical sky. A detailed skyscraper reflecting only the sun as a direct light source renders decently within minutes while a dimly lit interior might take hours. A brightly lit interior with large emitting light sources will render rather fast as well. It does resemble photography were you need longer shutter times to catch enough light to properly show an image on the sensor. Bright daylight however is never a problem. This is the realm of an unbiased render application like Maxwell were light is simulated as realistically as possible. I have noticed that complex models, even high resolution in daylight environments render fast in Maxwell. But my interiors with low levels of indirect light are mostly rendered overnight.
Texturing a Sketchup model
When setting up a model for rendering with Maxwell you are not required to do much else than what you normally do in Sketchup. Materials can be adjusted in the Maxwell Scene Manager palette. The materials are essentially the same as how you have set them up within the Sketchup UI. Although with Maxwell for Google Sketchup you don’t have the stand-alone Maxwell material editor you can edit your materials in Sketchup. Not as sophisticated but still with most essential options. You can add bump maps, textures, roughness and choose presets.


Studies modeled in Modo. Design by Fillie Verhoeven Architects
There is a lot to say about the materials used with Maxwell Render. You can either use the preset materials of the Maxwell Render Resources website http://resources.maxwellrender.com or alter the materials you already have in Sketchup.

Scale model, rendered Sketchup mode. Design by De Architektenkombinatie Bos Hofman
Its my experience that for many architectural renderings materials can be rather simple without high resolution image maps. Masonry is rarely seen in closeup and most materials are characterized by their reflectiveness (roughness). Most architectural textures do only a little better with bump, normal or displacement maps for instance. That is because most exteriors are never rendered in close up. Interiors often need more sophisticated materials to render well. The Render Suite with the Maxwell Material Editor can make virtually any material look real up to its finest detail. Its that sophisticated. As a Sketchup user I frequently use materials from the large library of materials on the Maxwell Render Resources website. Some I alter to my needs.
Emitters
Any polygon in Sketchup can emit light. You have to be aware though that polygons are two sided and what side is emitting light. I have made a studio set up in Sketchup with large curved surfaces for lighting. It works great.
Other light sources are for instance HDRI image files, the physical sky and a light dome. The physical sky mimics the sun and the unclouded sky and this as well works great without extra user efforts. You get a nice blue sky gradient background as well. I also like to work with HDRI’s. Many are available on the web and I have used several by Peter Guthrie with very good results for my architectural visualizations.
The camera
The camera settings in Maxwell for Google Sketchup are very complete. You can set up the amount of shift as you would with a technical camera to get straight verticals in your perspective views. You can set the type of diaphragm, the aperture, shutter speed and ISO value. You can choose an expose value (EV) preset to control the combination of shutter speed and aperture. You can also set up a Z-clip plane to clip the model for a cross-section rendering. You can choose for several kind of focus methods. The plugin can automatically determine the window size and resolution. The camera settings are linked to Sketchup scenes and so clicking between scenes does not require you to keep track of the plugin’s camera settings.
Rendering speed and image quality
Maxwell Render has the potential for very high image quality. Its like owning the best lens and sensor in a digital camera available. That does not necessarily mean you will produce the best images by using Maxwell Render. You need a perceptive mind to organize a good 3D model, have a clear vision to choose proper textures and have the interest to control the many parameters involved.


top: Visualization, rendered Sketchup model enhanced with sketchy lines and Photoshop artistic filters. below: Visualization, rendered Sketchup model enhanced with sketchy lines. Design by De Architektenkombinatie Bos Hofman
One of the rather elegant qualities of Maxwell Render is that rendered images soon after they are started already have a decent quality even at high resolution. I often use images that have only rendered for ten minutes. I add the Sketchy lines from Sketchup in PS and the result is very pleasing. The realistic light is already present and the slightly noisy images can be post processed to look hand painted. That you can do this so well with a high tech light simulator came to me as a surprise. I have found other high end render applications less capable to quickly produce usable draft images.

top: Study, rendered Modo model. bottom: Rendered Sketchup mode. Design by Fillie Verhoeven Architects
Most of my work is done at the office and much of our final rendering is done overnight. Since recently I have set up Maxwell Render to save my images to Dropbox. I can do this very effectively since Maxwell Render saves images during rendering as progress is made. Progress is measured by the amount of sampling levels. Renders start at an sampling level of 1 going up to 10 or more reaching lesser levels of noise. Since Maxwell Render is saving at these intervals its possible to use Dropbox to keep track of the intervals on my laptop at home or anywhere really using the Dropbox app on my iPhone.

Study, modeled in Modo. Design by Fillie Verhoeven Architects
Fire Engine
The recent version of Maxwell Render has a so-called Fire Engine, a real time render preview within the UI of Sketchup. The effect is fantastic. I can now see how the HDRI’s shows up in the background and can also see how light and reflective materials work out before starting the actual images to render. It makes editing Sketchup models and render settings so much quicker. The licensed version can render draft and production quality in the Fire Engine. But I use the speedier draft engine all the time.
The Render Suite
I find a render application that can only be used in the form of a plugin for Sketchup a bit limited.
With the Render Suite you can just export models to Maxwell Render to be rendered separate from Sketchup. This way I can keep modeling while my images are rendered on a different system or in the background.We use several different modeling applications for different kinds of work. With Maxwell Render all our experience and time spend on materials is put to use for our other modeling work as well as we use many other modeling tools. I also find Studio as part of the Render Suite very useful. I use Studio to assemble models in different parts in case the complete model would be to big for Sketchup. Studio is also faster than Sketchup assigning materials to geometry and navigating large models.

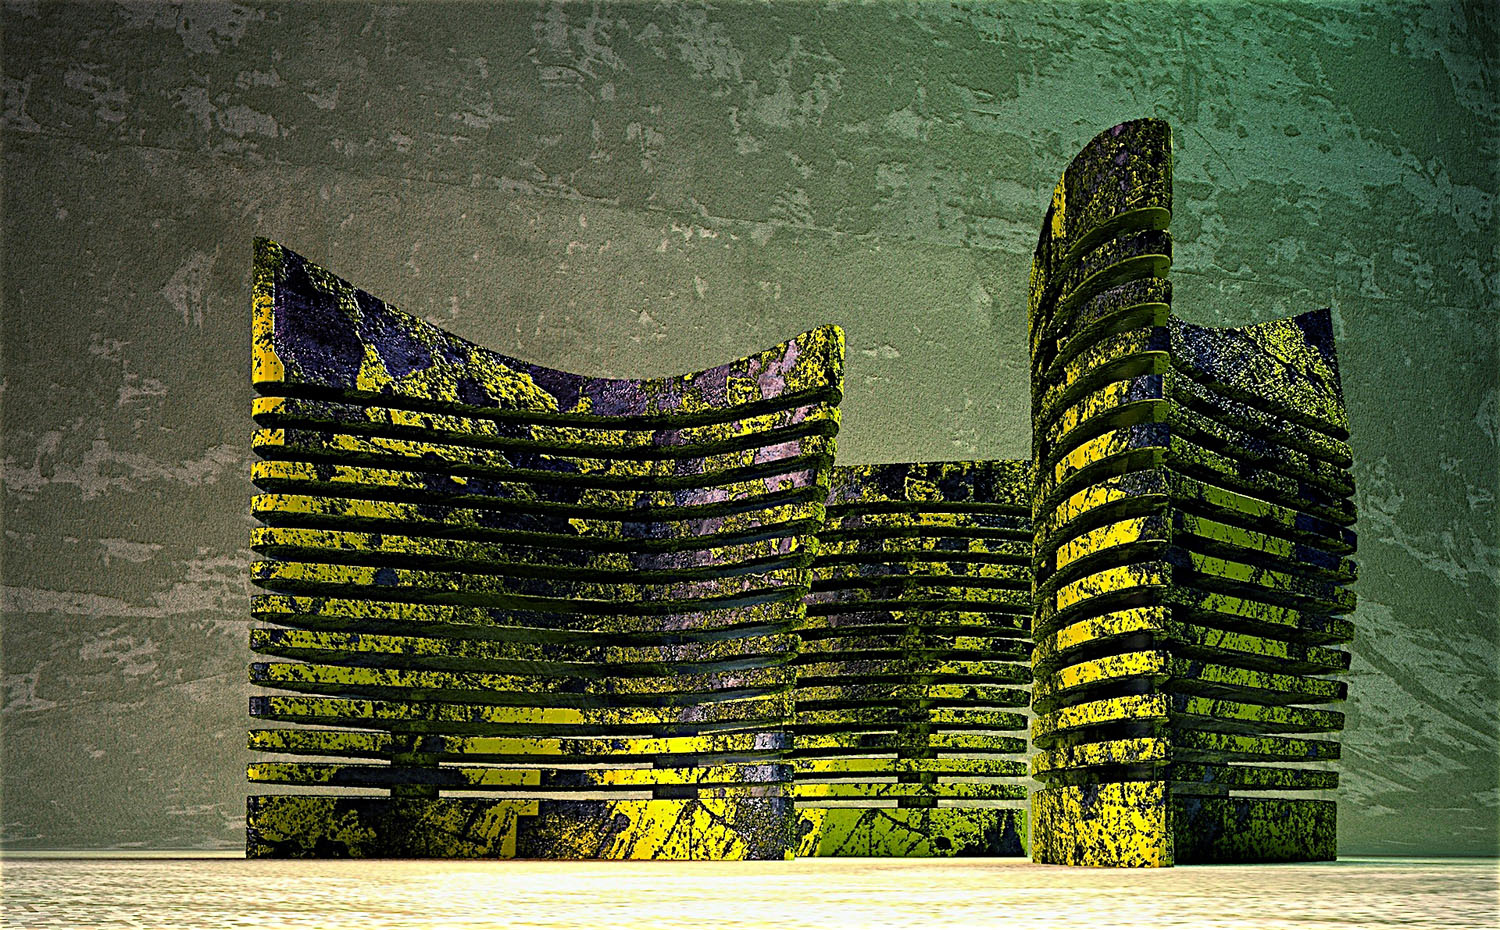
Study, rendered Groboto / Modo model. Design by Fillie Verhoeven Architects.
With every license of Maxwell Render Suite you also get for free the 12 currently available plugins for different 3D and CAD applications, which can be very useful in a multi application environment. (http://www.maxwellrender.com/index.php/maxwell_render_suite/plugins)
So there you have it: an accurate, not extremely hard to learn combination of tools that allows you to study to great extend and depth the quality of what you have in mind (as an architect) long before anyone else can see it. No doubt in my mind that these tools will have an important positive impact on new buildings conceived by their users. Sketchup is getting architects involved working in 3D CAD much more than any application on the market. The next step is using those models to really make you see what they represent.
The current plugin for Sketchup is practically perfect. It shows as well on the forums were you read little about problems. Actually the recent plugin was overwhelmingly positively received by all long time Maxwell Render users.
XXX
In photography image quality is topic number one. Have a look at this recent article by Mark Dubovoy on Michael Reichmann’s Lumi-nous Landscape web site. He sees quality differences that most photographers have given up on. He apparently does not mind the effort to achieve a quality that matters for excellence. http://www.luminous-landscape.com/understanding-series/everything_matters__it_is_all_about_the_small_details.shtml
Will we look at render applications like Mark Dubovoy in the near future ? At the moment the discussion is still about speed and ease of use. Understandable when you consider most renders are just used to be post processed by graphic artists. They will skillfully upgrade even the worst of renders. But when you consider a ren-der application to study design you need to simulate light.
As an architect and photographer I am biased towards ultimate image quality. I don’t mind a few extra steps to get there. Maxwell for Google Sketchup has made those extra steps very convenient and it makes all the difference in my daily work.
Written by Francois Verhoeven, architect, photographer and illus-trator.
Owner of Fillié Verhoeven Architects and 3dFV-visualisations in the Netherlands
Users of Maxwell Render since 2006 in combination with Sketchup and Modo.
Francois Verhoeven can be reached at :
info@fillieverhoeven.nl
All images rendered in Maxwell Render
All images modeled, rendered and post processed by Dennis Fillie and Francois Verhoeven
Renderings and post processing by:
www.3dFV.nl
Architecture by:
www.architektenkombinatie.nl
www.fillieverhoeven.nl
To Purchase Maxwell Render Visit the CGarchitect Visualization Shoppe
You must be logged in to post a comment. Login here.
H
Harry Hirsch
Report Abuse
""Maxwell is much faster and the quality is better than other render engines around there. ""
That depends on a lot things...
A lot of engines are fast..you just need to know how to handle them.
Most people use Vray, Artlantis is awful fast, good old Kerkythea is quick as hell, Maxwell for SKT is nice too.

Allan Casas
Report Abuse
I agree, Sketchup and Maxwell Render is the best tool for Architects who wants instant visualization. Maxwell is much faster and the quality is better than other render engines around there. You get instant result in just a minute and no tweaking required, saves time and money...
Allan Casas
D
David delasCasas
Report Abuse
Usually I use sketchup. I think this software is a versatile tool if you learn to use many of the existing plugin for it.
David de las Casas.
D
Dennis Fillie
Report Abuse
In our daily practise quick and clean renders are not a concern with Maxwellrender.
Usually we render overnight and so 8 to 10 hours is maximum. But in general good renderings to discuss with clients require less than an hour. Even within minutes we have renders that can be emailed at screen resolution.
Francois Verhoeven
M
Matthew Valero
Report Abuse
SketchUp has truly changed the way we design and visualize. There isn't an office I have worked in that doesn't utilize SketchUp on a daily basis. It's affordability (can't beat free) and ease of use has made it an essential tool for any designer.
I have used many rendering plugins in SU and I agree that Maxwell is very easy to use and perfect for anyone just starting. Although, I prefer to use V-Ray in SU simply because the render times in Maxwell are just not something that an arch office is going to be able to deal with because every project is a crunch and there are always last minute changes. Waiting 10-30 hours for a render to clean up is a tough pill to swallow on most projects. Maxwell's quality is superb but most designers are willing to sacrifice true realistic light over quicker render times.
About this article
An Architect's view on Maxwell Render (for Google Sketchup)
visibility63.6 k
favorite_border19
mode_comment5


