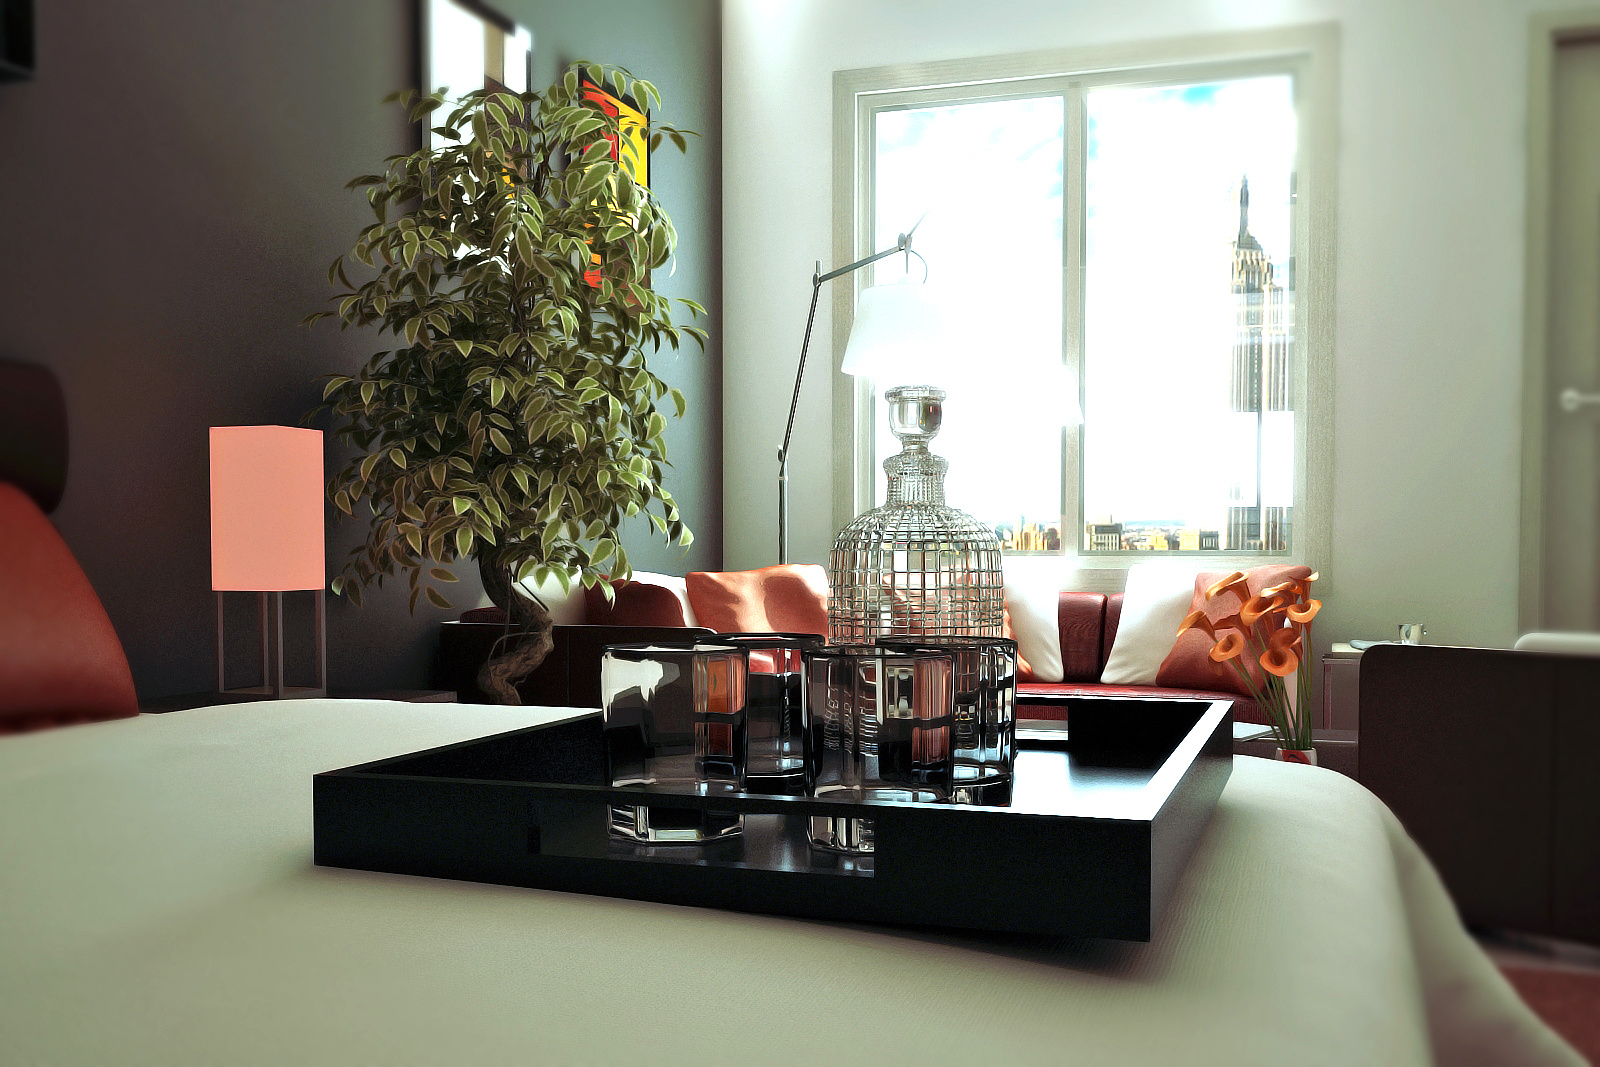
new work
You must be logged in to post a comment. Login here.
Lakshmikant sharma
Report Abuse
thanx bhushan for the compliment.
B
Bhushan Waikar
Report Abuse
lovely work
Lakshmikant sharma
Report Abuse
THANK YOU VERY MUCH FOR THE HELP THANX ALOT
Boris Horosavin
Report Abuse
link:
http://www.cgdigest.com/how-to-add-depth-of-field-using-a-zdepth-pass/
Charles Guerton
Report Abuse
You can also use directly the depth of field option in your render settings and play with the f-number to control the blurriness. This option is more correct in terms of photorealism but will drastically increase your render time and you won't have any control over it in post.
Charles Guerton
Report Abuse
First you need to measure the distance between your camera and the end of your room. To do that go to helpers in your creator menu on the left and use the tape.
Then you need to go into your render settings, go to the render elements tab and add a vrayzdepth pass scroll down and add the output and the distance you measured before into the zdepth max. Be aware that render elements doesn't work with the v-ray built-in frame buffer you need to use the default max one.
Just launch the render again (you can set the render settings extremely low it doesn't affect the zdepth pass) and you will have the zdepth pass in the output path. now you can duplicate your render blur it as you wish and use the zdepth pass as a mask.
Lakshmikant sharma
Report Abuse
I am fully agreed with you all.
i will correct the lamp as Boris Horosavin said.
can any one teach me how to use depth of field using v ray camera this is first time i used v ray camera. i blurred the corners in photoshope.
thanx for valuable comments.
this will help me alot.
jhune esta
Report Abuse
nice images ang camera angle... :)
But like other said comments you can make it more sweeter than this one.. :)
Charles Guerton
Report Abuse
Really beautiful render, but your depth of field looks weird to me (like on the blanket which shouldn't be blurred) I guess you blurred all around on the sides? Maybe you should try using a zdepth pass to make it look more natural. Some weird light bugs on the background as well.
But don't get me wrong, your image does look sweet!
Boris Horosavin
Report Abuse
Hi,
Nice work with natural lighting and glass, but this lamp, as Martin said - it is simply flat and unrealistic. I suppose you used Vray Light Map which is not suitable for this purpose since it cannot simulate volume at all.
Try using Standard Material, with self illumination set up to 100. For diffuse map don't just use standard color box; Instead create Vray Color Map, choose color which you prefer and boost RGB multiplier up to 1,5 or 2 to create this lighting effect. Another way is to use Fallof map consisting of darker purple on the edges and lighter in the middle, where the light comes from.
Also try adding volume light in the post: In PS create purple box atop of the lamp, do the Gaussian blur and make oppacity 50%. This will give glowing effect your lamp desperately needs.
Thumbs up.
M
Martin French
Report Abuse
what's the orange cube next to the plant? looks completely flat...